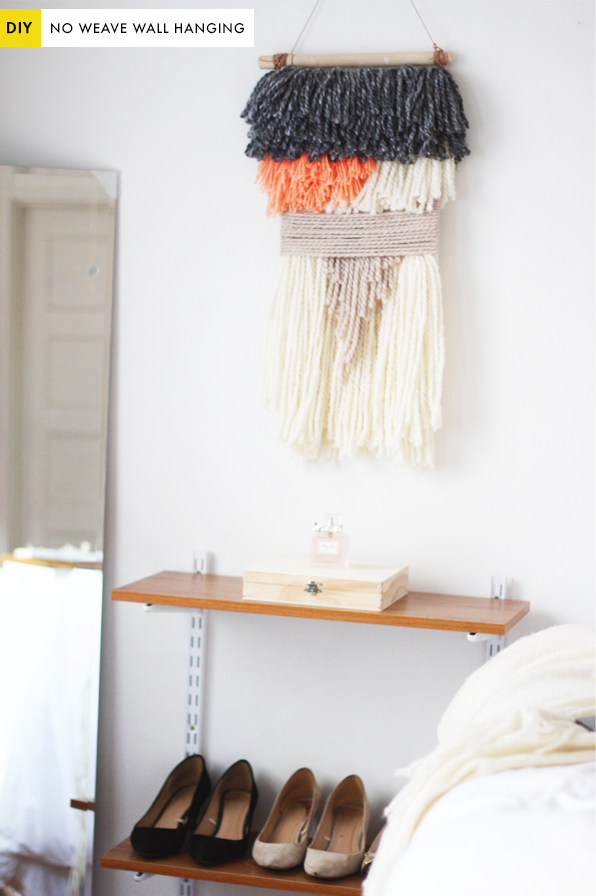
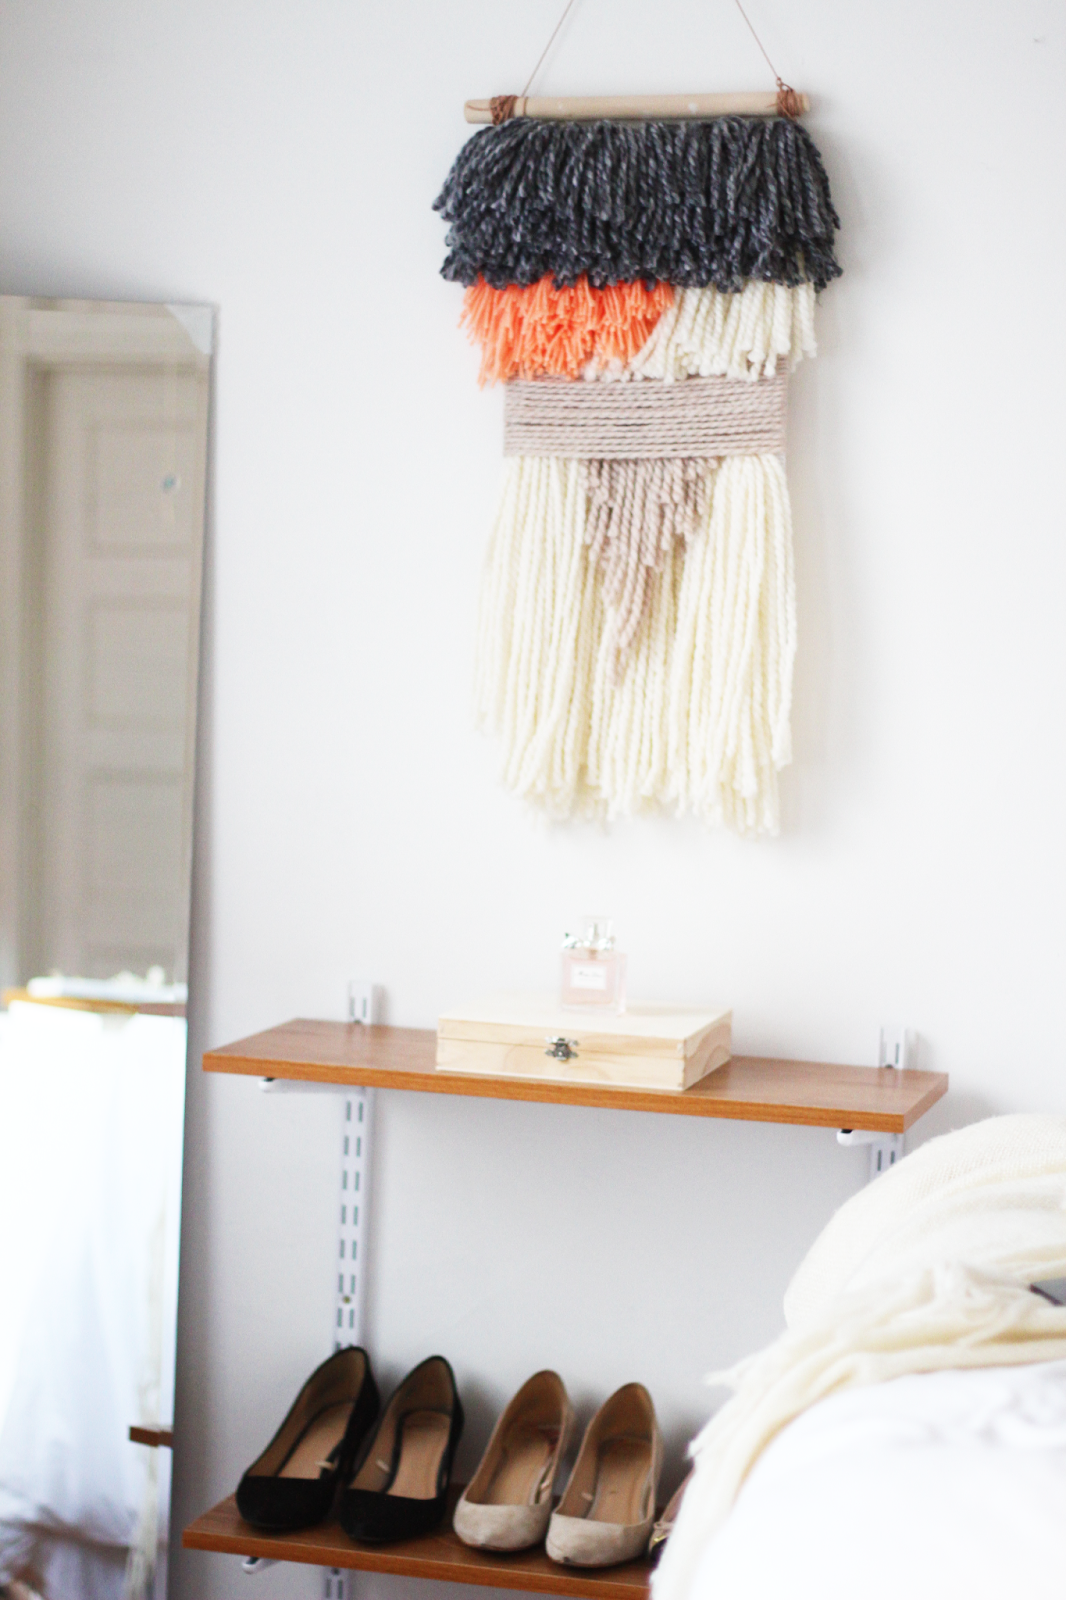
Okay, so I stand corrected. Some people
do have time to learn weaving and continue on to produce beautiful products.
This is one I have been admiring a bunch lately, in addition to
this,
this, and
this. For those of us who have more admiration than free time, a little shortcut doesn't sound so bad, right? I tried a couple of ways and finally settled on this tutorial to create a non-woven but still
'woven-like' trendy wall hanging. The best part is that it took an insignificant amount of time (1-2 hours), can be easily customized even after it is completed, and cost me less than $25 for all the materials. Boo yah! So let's get started...
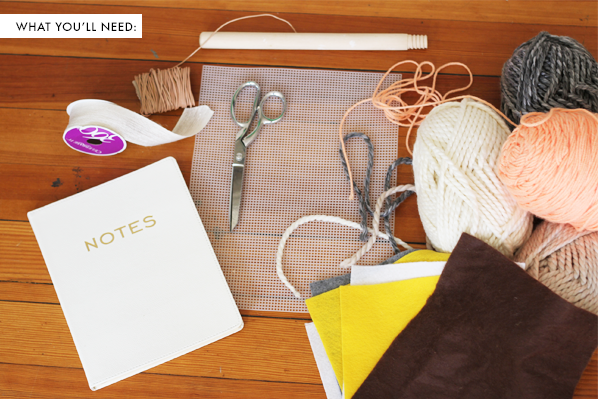
The items you will need: yarn (variety of colors/sizes/types),
stiff plastic canvas, thread (the slightly thicker the better), scissors, stick (I used an old paint roller), and leather string for hanging. Keep in mind that you can add any other type of detail to your piece such as wooden beads, fabric scraps, etc. depending on the look you are going for. I spent about $16 on yarn. $0.50 on the canvas, $4.00 on thread/leather string, and $0 on the stick = a total of $20.50!
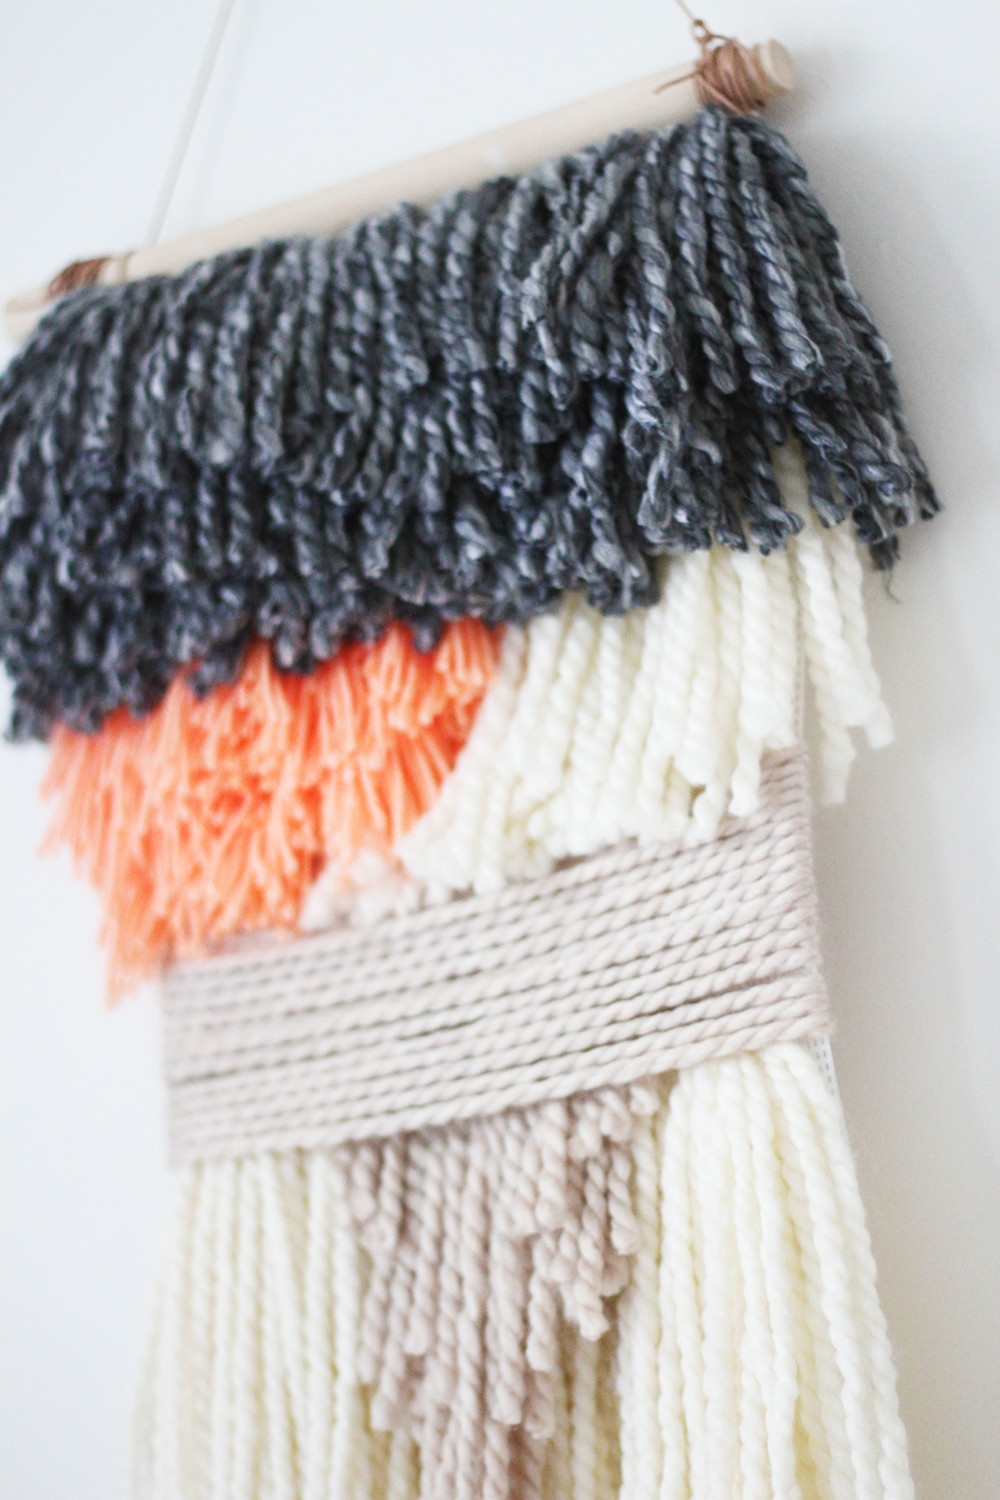
Basic steps: First start by sketching a rough template of what the final piece will look like. It doesn't have to be exact and does not have to be followed once you get going. Just gives you a nice visual to have before getting started and to refer back to if needed. Next, start making the yarn tufts. For the longer length pieces, I wrapped the yarn around the length of my arm, tied a piece of thread to each side of the loop, and cut across the loop in the middle to yield two tufts each tied together by thread. The more you wrap the yarn around your arm, the thicker your tufts will be and the less you will have to make to go across the width of the board. For this top gray layer I made 6 tufts, each created after wrapping the yarn around my arm about 20 times. For smaller tufts, I simply wrapped the yarn around the palm of my hand. Once you have created your tufts tied to string, you can start attaching them to the plastic canvas. For the very top layer, make sure to leave the first row of boxes open so you attach the board to the stick to be hung up. So starting in the second row, simply slide the strings through the boxes in the plastic canvas and tie them together into a knot on the back of the canvas, making sure the tuft is pulled up close to the board as much as possible. Now just repeat! Space the yarn tufts out so they overlap enough not to show the canvas underneath. Once all set, trim off any excess edges or cut the yarn as desired to get the look you want.

The last step is to attach the plastic canvas to a wooden stick. I used an old paint roller we had laying our the apartment which ended up being the perfect size. First I looped leather string through a couple holes in the top corners of the canvas then loop them numerous times around the ends of the stick. Bring the two strings together at the top and tie them together with several knots. Hammer a nail into the wall and hang. All set!
Feel free to experiment with various styles/colors! At one point I wrapped yarn around the board itself rather than creating tufts. I made a cascading effect by cutting the yarn at different lengths or tying the yarn tufts in a diagonal rather than straight across the canvas. Share if you do create one - I'd love to see!

 103 comments:

