Alright, who doesn't love a pink table?! With spring in the air, I especially enjoy working on projects that get me outside a bit more and up-cycling my backyard furniture with a new paint job definitely hit the spot. With Mother's Day just around the corner, I wanted to give her something we could both enjoy as an experience. Given that we both love cafes, chai tea lattes, and the color pink, I decided to create my own little pink cafe for her right in my backyard! It requires going outside to get your hands a bit dirty and your clothes a bit paint stained, but it's entirely worth it. Plus, you never have to change out of your pajamas to get that cute Instagram shot everyone takes at cafes! This project was inspired by the Pink Grapefruit hand wash by Method, which I'm so glad I had on hand (you'll see!). Keep reading below for a quick and easy way to update your backyard furniture and build a pink cafe for Mother's Day!
Showing posts with label sweet. Show all posts
Showing posts with label sweet. Show all posts
DIY | Mother's Day Pink Cafe
Sunday, February 7
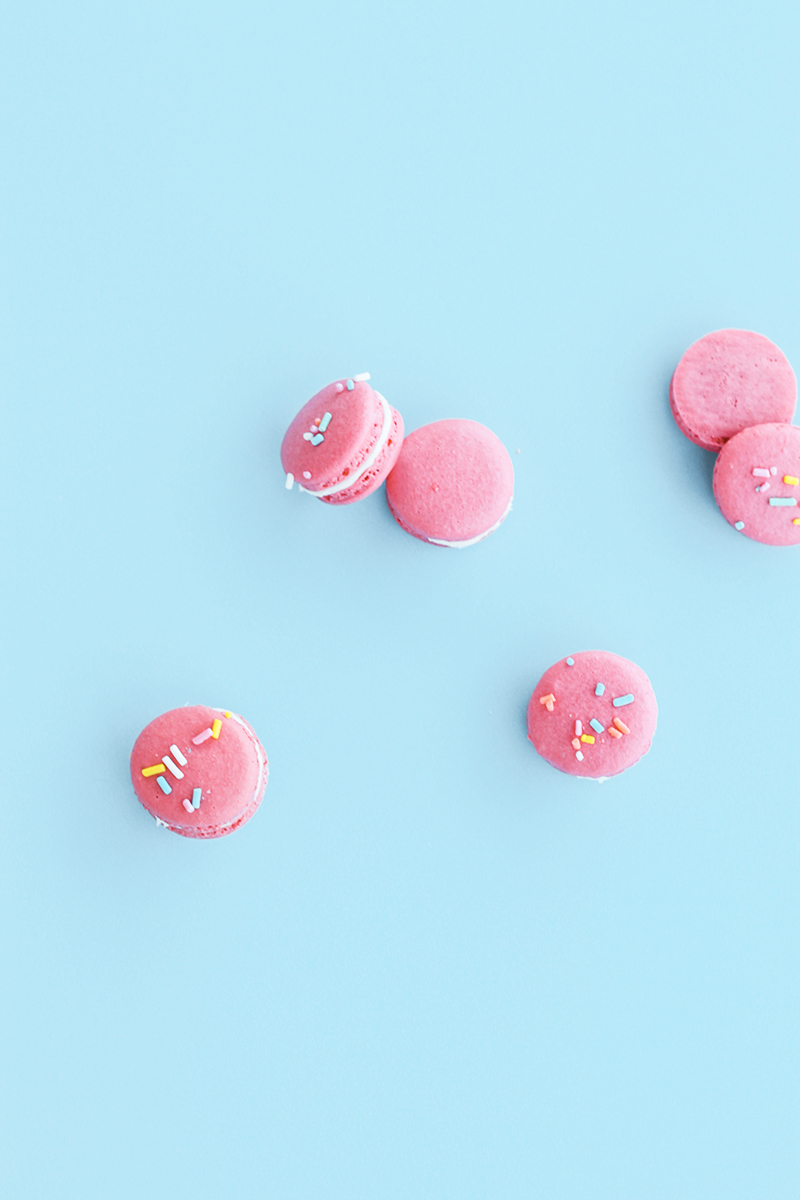
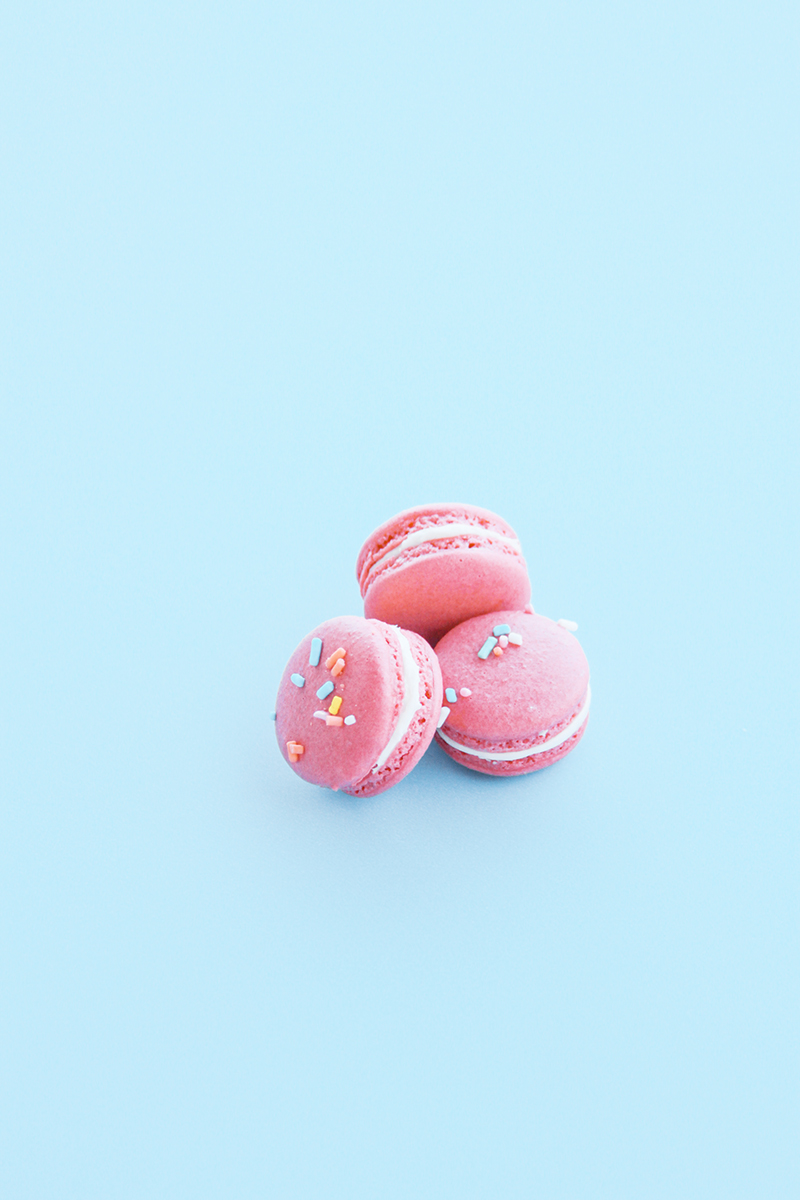
It's a plane...no, it's a star...no, it's a MIRACLE! After more than a year of failed attempts and discouraging oven battles, I have successfully baked a batch of french macarons. For some of you, this may seem trivial. But for those of you who know me well, it's a pretty big deal. Mostly because they've been first-hand witness to the near crazy I've become over perfecting these cookies. I'm not sure what has me so hooked about them. The variety of pastel colors, perhaps? Or the amount of patience required to bake them? Possibly, but not likely. It's probably all driven by my inner, wannabe member of the "Gossip Girl" clique and eat famous Laduree macarons delivered fresh from Paris to my New York estate. Yup, I'm pretty sure that's it. But, I digress.
After so many trials, I've been able to learn a thing or two about these tiny treats. Naturally, I'd love to share them with you all so you don't drive yourselves near crazy like I did. So instead of a flavored macaron recipe, these are just called "happy macarons" because I'm just so darn happy they finally turned out okay. Keep reading after the jump for my tips and tricks to making your own perfect batch of macarons!
Saturday, January 9
Hot chocolate in the wintertime has always been a unique cultural combination for me. My parents are from Haiti, but they lived in Mexico for several years before I was born. I remember growing up sipping Mexican Hot Chocolate more than any other type. Recently, since I married a European, I began to indulge (perhaps too much) in the wonders of that thick, creamy, and concentrated european hot chocolate style. Now, I've created my own type inspired by the culture of color: pastel hot chocolate! It's super quick to make and a great idea for Valentine's Day, ladies night, or simply amusing your tastebuds. Keep reading for all the deets!
Wednesday, September 23
Somebody say candy dots?! This DIY clutch is inspired not only by those color coated mounds of pure sugar, but also by this bag by designer. I saw it in a fashion post by CarrieC a couple weeks bag and fell in love. What else was I to do than try to make a spin-off? Here it is folks...fun, quick, and easy!
What you'll need:
-solid color bag/purse/clutch
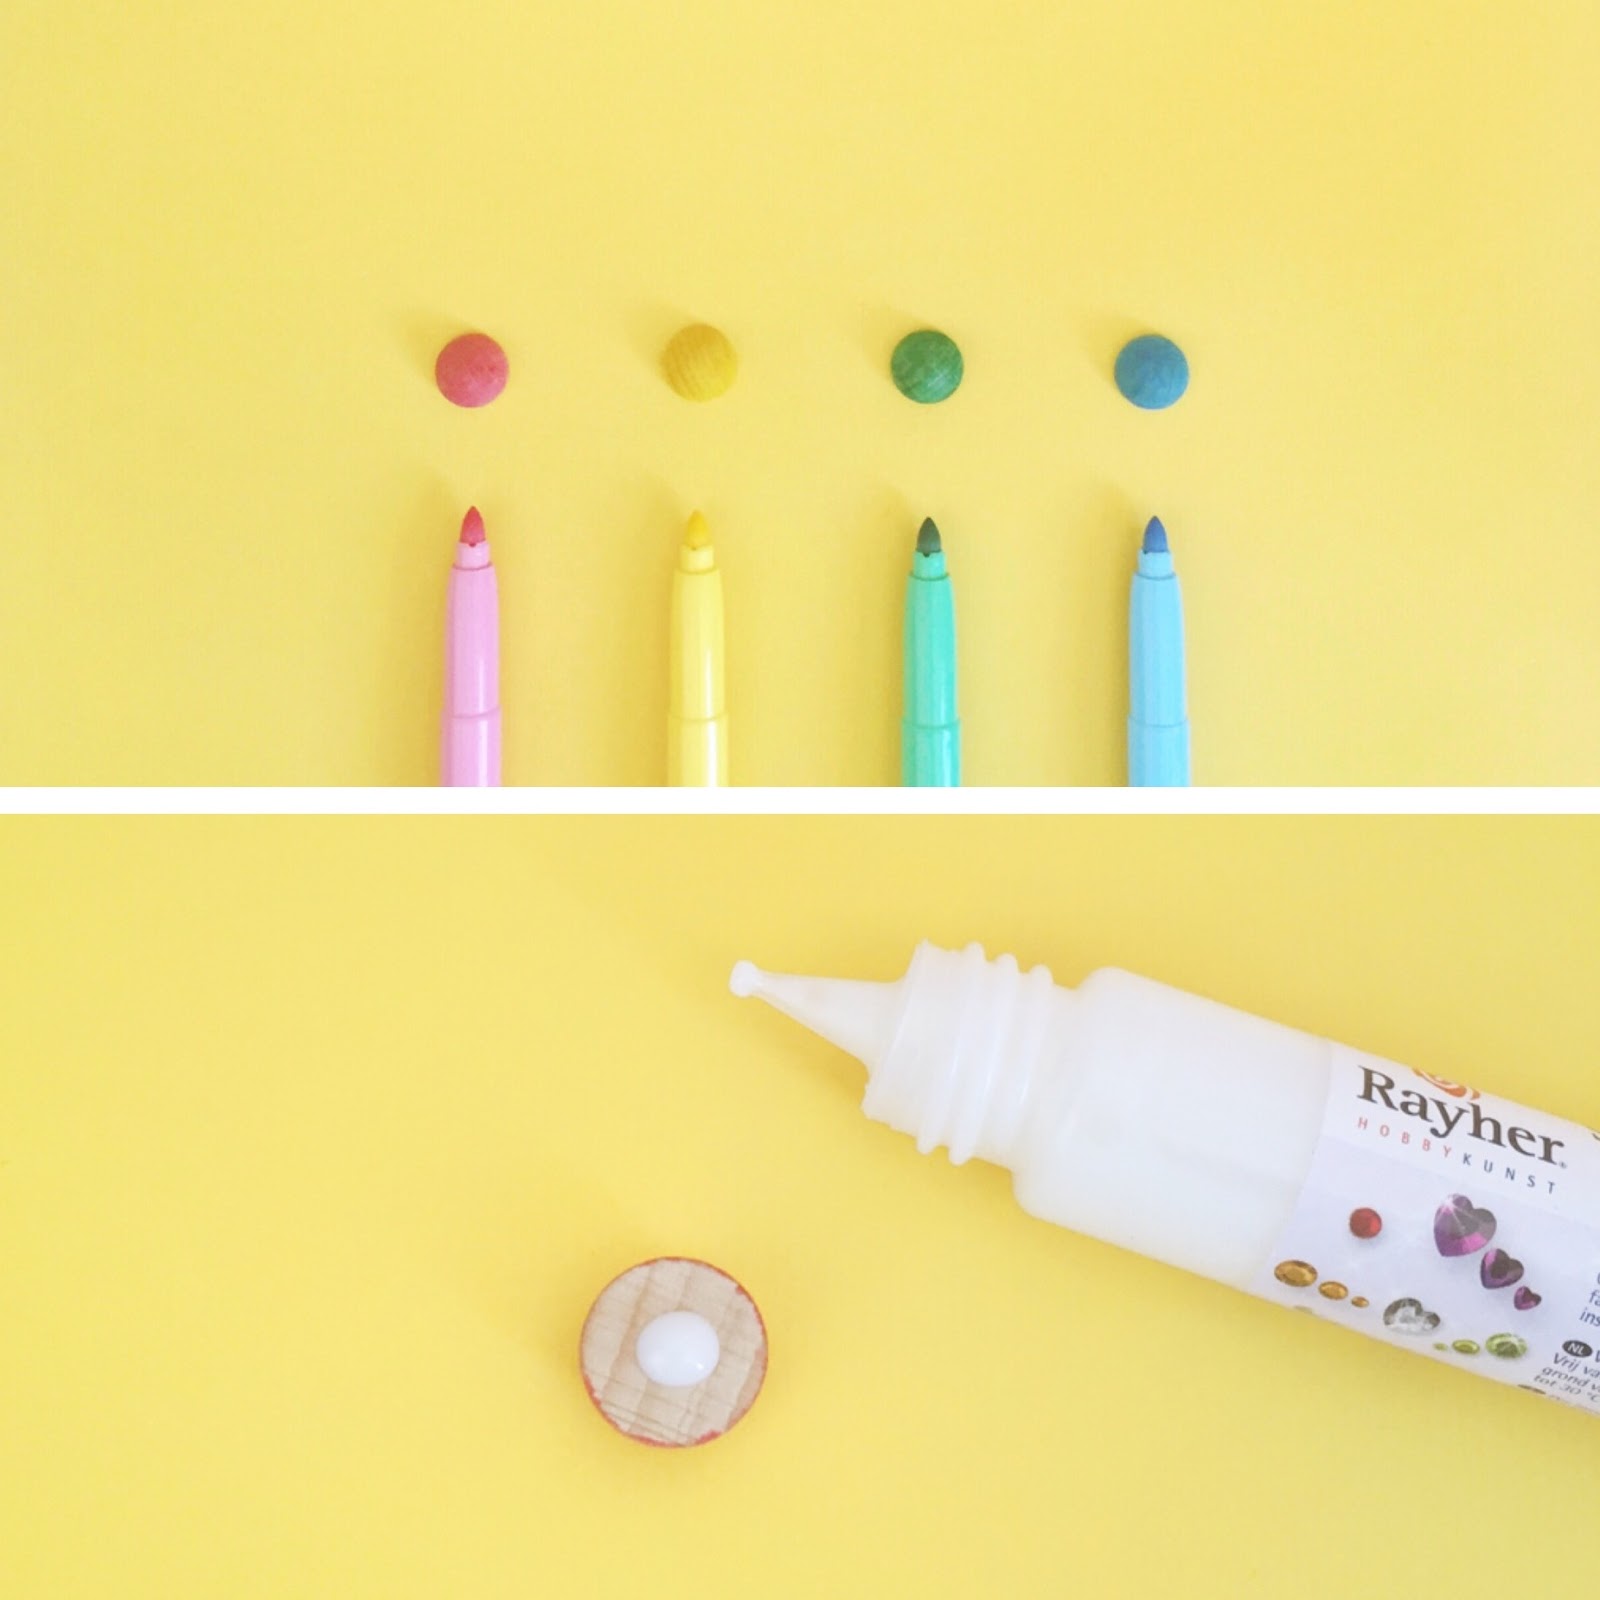
-semi-circle wooden dots
-markers
-strong glue
Instructions:
1. Color your wooden dots as desired using markers. You could also spray paint them, but given that I made these while on vacation, I didn't have the option. Using a marker means essentially no drying time, but also means a less than perfect color coating.
2. Align the dots on the bag as desired. Drop a dot of glue on the base of the wooden semi-circle and press onto the surface of the bag. Hold for at least 15-20 seconds, or until glue has dried enoughto keep the wooden circle secured.
3. Continue gluing dots to your heart's content! Let the bag sit for an hour or two to ensure the glue dries thoroughly. Then, hit the town and buy some sweets to stuff it with! :)
Labels:
accessories,
color,
colorblock,
diy,
handmade,
polka dots,
purse,
sweet
Monday, April 13
The sun is out, snow is out of sight, and the grocery store is stocking up on fresh(er) fruits...it must be spring! As a California gal living out in the frigid coast that is New England, you can't possibly imagine how psyched I am to expose my ankles for the first time in months and sit outside. This DIY Strawberry Earphones project is inspired by all the fruity goodness that the spring and, soon, summer seasons will bring! Like usual, just a few super simple steps and you can make these tasty looking babies in a few minutes! Check it out below:
Labels:
diy,
earphones,
fruity,
music,
strawberry,
sweet,
technology
Monday, April 6
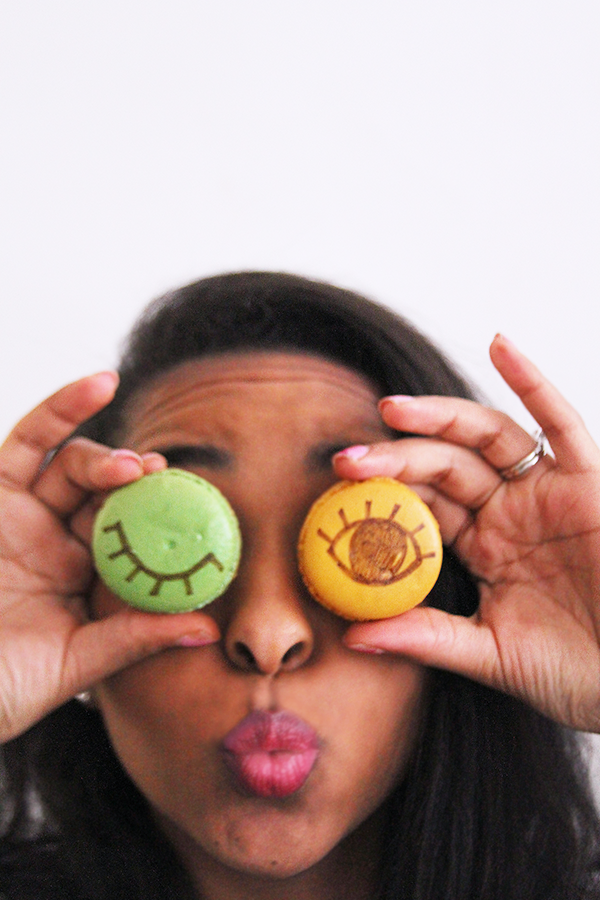
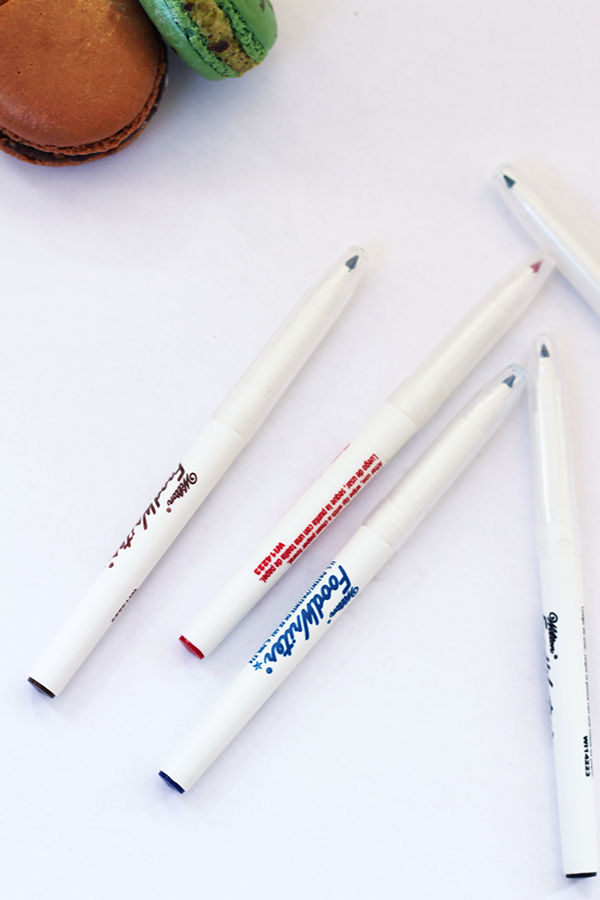
I've hopped onto the macaron train and I'm not getting off! I'm so inspired by Sugar and Cloth's #Glossaryofmacs, a series of fun ways she paints or creates fun images on macarons! The best part - they are all edible! Today's DIY is a super sweet way to bat your eye lashes at that crush of yours during that cocktail party...or just flirt with yourself I guess. Hey, you are pretty good looking, right? All you need are food coloring pens and a batch of macarons. Prepare for a pretty sweet sugary ride! Here are the deets:
What you'll need:
1. Macarons (I bought these babies at a cute Macaron Van that drives around Boston - Cameo Macaron)
2. Edible Color Food Markers (purchased a pack at Michaels)
Steps:
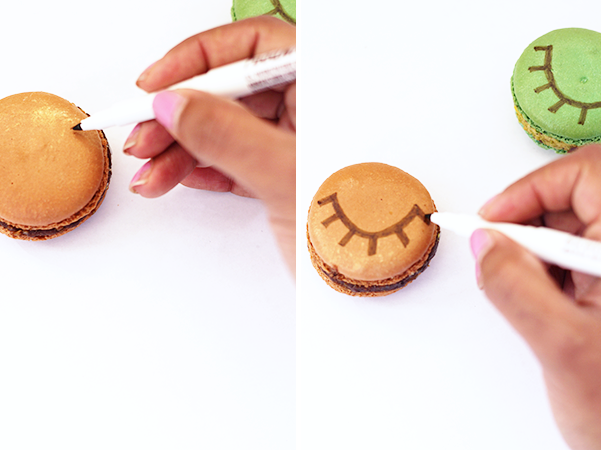
1. Like I said, super easy! Simple grab a macaron and draw the outline of a semi-circle. Feel free to make your eyelid as thick as you'd like..I preferred mine a little bit on the thinner side.
2. Next, add lines extending outwards around the semi-circle to make the individual lashes.
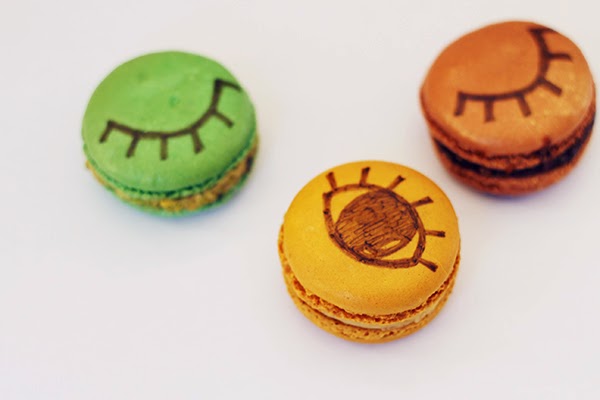
3. Repeat per macaron. It's fun to spice up a few and add an eyeball. Simple draw an oval, add the lashes to the top, and a big circle in the middle for an eye that pops! That's it!
Hope you all like today's project and let me know if you try it! Share your creations on instagram (#diykipi) and follow my colorful ride (@creativekipi)!
Tuesday, February 10
In case all the Valentine's Day pink and candy hearts weren't enough for you already, here's a quick DIY to celebrate one of the sweetest holidays coming this weekend! I made these DIY Conversation Heart Magnets over the weekend and it literally took less than five minutes to put it together. It's so fun and versatile to use with loved ones, friends, roommates, at work, or to surprise strangers in a public bathroom if the door is magnetic! (Okay, maybe the last one is a bit creepy, but I'm sure you can think of plenty of fun places to stick these..)
Here is what you'll need:
-Foam Conversation Hearts (variety pack from Michael's)
-Magnet Squares with Foam Adhesive (I bought 2 packs of 6)
-Paper/pens/glue to make valentine notes (if desired!)
Alright, are you ready for this super complicated process? Grab a foam heart, unpeel the backing of the square foam magnet, stick it to the back of the heart and press. That's it! I know, I'm breaking a sweat too! Simply repeat this process for as many as you'd like to make. I also wrote out some quirky love notes using colorful pens and paper and stuck them to my fridge using the heart magnets.
This is a super cute surprise gift for your roommates or loved ones when they wake up in the morning and go to the fridge! Hope you enjoyed this one - and that your Valentine's day is splendidly sweet!
Labels:
conversation,
diy,
heart,
love,
love notes,
sweet,
valentine's day


 1,068 comments:

