Hot chocolate in the wintertime has always been a unique cultural combination for me. My parents are from Haiti, but they lived in Mexico for several years before I was born. I remember growing up sipping Mexican Hot Chocolate more than any other type. Recently, since I married a European, I began to indulge (perhaps too much) in the wonders of that thick, creamy, and concentrated european hot chocolate style. Now, I've created my own type inspired by the culture of color: pastel hot chocolate! It's super quick to make and a great idea for Valentine's Day, ladies night, or simply amusing your tastebuds. Keep reading for all the deets!
Showing posts with label holiday. Show all posts
Showing posts with label holiday. Show all posts
Food | Pink Hot Chocolate
Friday, December 25
It can never be said enough...happy holidays everyone! Whether you celebrate Christmas, Hannakuh, Kwanza, or nothing at all, this time of year is all about making special memories, gathering with those we love, and looking back on all we've gone through in just one year. It's crazy to think about where I was a year ago. I was applying to medical school, living in the worst snow seasons ever recorded in Boston, and planning a wedding! I can't begin to imagine what the next year holds...but for now, I'm going to eat some cookies and chill in my pajamas all day! Happy Holidays!
Tuesday, December 22
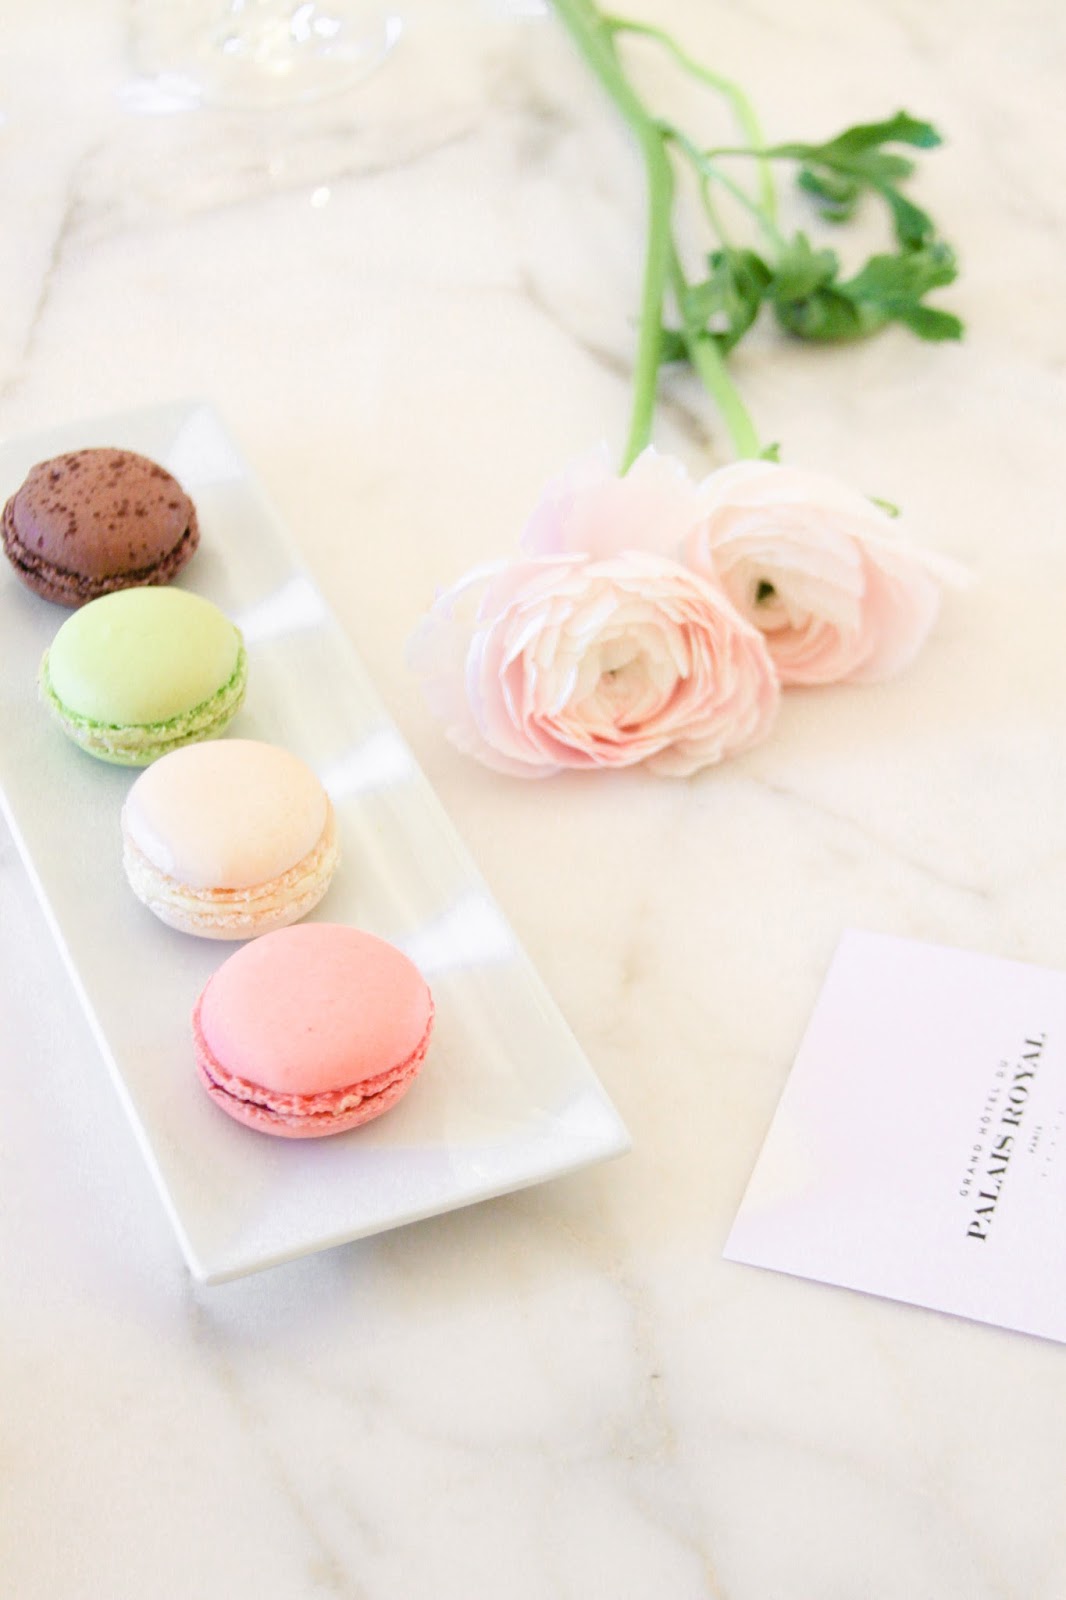
What do you call the ultimate combination of warm luxury, a city of romance, and rooftop views of a sparkling Eiffel Tower? It could be called "perfection," but it just so happens to be called Grand Hotel du Palais Royal. Last week, I had the pleasure of spending a night in this stunning, five-star boutique hotel in the heart of Paris. I arrived exhausted after a 10 hour flight and only left with a longing for the day I return. Curious to know what could have happened in just 24 hours here? Keep reading below...
Saturday, December 19
This month I decided to celebrate the holidays a little differently. For the first time, I'll spend them away from home. I was a bit nervous about the idea at first. I absolutely love Christmas in California. It's warm, relaxing, and my mom always cooks a bombtastic meal. Every single time. I also get to wear my pajamas all day and not feel one ounce of shame about it. However, now that I'm married and living this whole adult life deal, I thought it was about time I expand my Christmas traditions. So, this month, I'll be traveling across Europe and spending the holidays with my husband and his family in the Czech Republic! The weather will be colder, the language harder to understand (have you ever tried to learn Czech?!), and possibly a lot more beer at dinner time. But life is an adventure right?! I'm ready to dive in.
In the meantime, you can follow my colorful journey as I trek across Paris, London, Geneva, and Prague! My unifying theme will be #followthatpinkcoat as I capture colorful sites wearing this perfect pink coat I found from Asos. There will also be travel posts on the blog for each city coming this month, as well as daily updates on my Instagam (@creativekipi). Let's go for a colorful adventure this season, shall we?!
How are you celebrating the holidays? Feel free to share below - I'd love to hear!
Thursday, December 17
I was approached by Pinterest a few weeks back to put together some holiday gift guides, and I couldn't help but select some of the most colorful items one can buy! I created two guides, one for "Homebodies" (aka those who love Netflix, long naps, and leaving the house only on necessary terms) and one for "DIYers" (aka those who'd rather spend twice as long and maybe twice as much money to make something themselves rather than buy it). Both of these fit my own self-descriptions pretty well, so it was an easy task. Check out my Pinterest for more inspiration for the holidays and colorful projects, travels, art, and more!
Thursday, November 26
Celebrating Thanksgiving is one of my favorite things to do -- how can you not enjoy a day devoted to family, friendship, food, and good fortune? Even though everything in life can never be perfect, this day urges us to reconsider why we should even wait for that to happen. I am so thankful for the love in my life, the progress I've made towards my career, and the creative outlets that inspire me everyday. Thanks for being a part of my colorful journey, and I hope the day felt like a thousand sunflowers!
Labels:
giving,
holiday,
life,
lifestyle,
sunflowers,
thanks,
thanksgiving
Tuesday, December 30
Alright, so this DIY was supposed to be a stocking stuffer but, alas, Christmas proved to be much more hectic than I planned! However, I bet there are some of you that forgot to gift something to that distant cousin who showed up unexpectedly for the holidays and now you're scrambling to put something together..or maybe, over Christmas, you became one of the lucky few to get a plane ticket present to welcome the New Year on a tropical and peaceful island. Regardless of what you'll need it for, I'm back with a DIY that is both classy and quick to make - a leather passport case with gold lettering! Read below for the easy step-by-step instructions...
What you'll need: Leather swatch (got mine in aqua color at Michael's), Letter stamps (purchased at Michael's), Gold Marker Pen, Permanent Glue, Scissors, and passport/pencil for sizing.
First, layout you passport on the inside of the leather swatch, drawing a light trace around it with a pencil. Next, trim the swatch so there is about 1" extra across all sides, with an extra .5" especially on the vertical sides in order to make flaps (this will make sense in the pictures). Afterwards, taking one side, fold the leather over the front cover of the passport, dotting glue on the corners. Repeat with back page of the passport. Be careful not to glue your passport to the leather! It should fit snug in the leather but also loose enough to take it out. Repeat adding glue if the leather doesn't stay down at first and lay under a stack of heavy books for a couple hours until it keeps its shape. Alternatively, for the sewing inclined, you can stitch the flaps under a sewing machine for a sure hold. Once that is set, simply take your rubber letter stamps and, one by one, coat a letter using the gold marker pen and press hard into the leather. Write whatever you wish! That's it!
Follow my colorful mess on some of my newest social media accounts: instagram and twitter, and let me know what you think!
Tuesday, December 9
I know it's not friday, but I just couldn't resist posting this week's friday faves! My holiday splendor is bursting at the seams...and looking at all the beautiful projects, food, and gift ideas on the web is not helping. These are a handful of my many favorites - check them out for yourself!
Homemade Potpourri (by Half Baked Harvest) // DIY Leather Bow Bracelets (by A Pair and A Spare) // DIY Cake and Beverage Stencils (by A Beautiful Mess) // Wreath Gift Wrapping (by Odessa May Society - See more DIY Holiday Gift Wrap Ideas by Oh So Beautiful Paper) // Three Ingredient Chocolate Almond Clusters (by Le Creme de la Crumb)
Thursday, December 4
Welcome to part one of a three-part series on affordable holiday stocking stuffers made with leather! It's been hard getting back to the blog after trying to sift through the mayhem that is applying to medical school. Yet, with the holidays in full blast I couldn't help but craft all the project ideas buzzing in my head!
This first project, DIY leather coffee cup sleeves, is a chic (and fairly hipster) project that looks and feels quite luxurious but only cost me around $6-7 to make. That's a steal! As a California gal living on the east coast, I don't do well in the cold. I also don't do well with wasting things. Although many paper coffee sleeves in cafes are recycled, why not just have a reusable one you can easily carry in your bag or wallet? Better yet - snag a reusable coffee mug and you'll essentially save the world (and look good while doing it).
Alright, here are the deets!

What you'll need: paper coffee cup, coffee cup sleeve (as template), leather (I got mine for $3.99; here is a similar one online at Michael's), permanent glue, scissors, and a pencil.
How to make it: trim the paper coffee cup sleeve on each end so it will fit nicely on your leather sheet. Flip the leather over and trace the outline of the paper sleeve lightly. Cut! You'll notice that the leather sleeve at this point won't wrap all the way around. Obviously, if you have a longer piece of leather this won't be a problem, but mine wasn't. So I saw it as an opportunity to keep being artistic with it. To fill this gap, use a piece of scrap leather, flip it over for an 'opposing' color/texture look, and glue to both ends of the sleeves. Trim excess as necessary. I then wrapped a bit of the excess around the top and bottom of the sleeve to complete the look. Wait at least 10 - 15 minutes for the glue to dry and harden before using. That's it! Happy sippin' folks! And come back next week for second DIY in this leather stocking stuffer series!


 399 comments:


