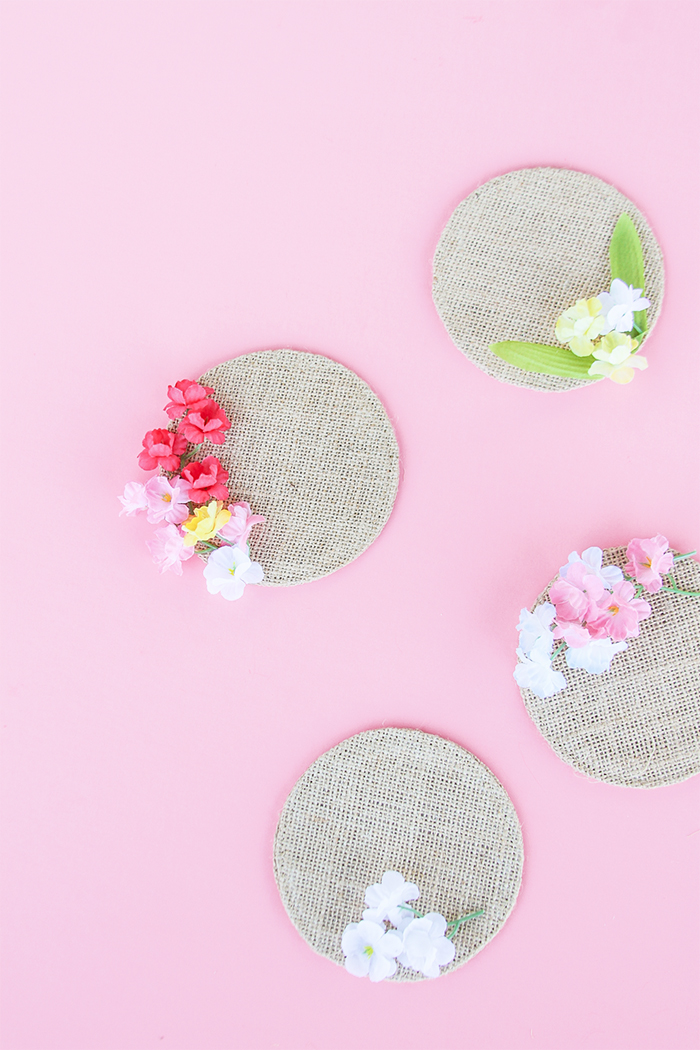
There's nothing I love more than combining flowers with...well, just about anything. Now that spring is just around the corner, I'm going to go a little floral crazy over here. First up, these cute and fun floral drink coasters that are great for adding a little unexpected pop to your table next time you're hosting a get-together. They could also make great, handmade gifts for someone's housewarming party! Overall, they're colorful, simple, and easy...just the way I like it! Read more to learn how to make these floral delights...
Showing posts with label decor. Show all posts
Showing posts with label decor. Show all posts
DIY | Floral Coasters
Saturday, January 2
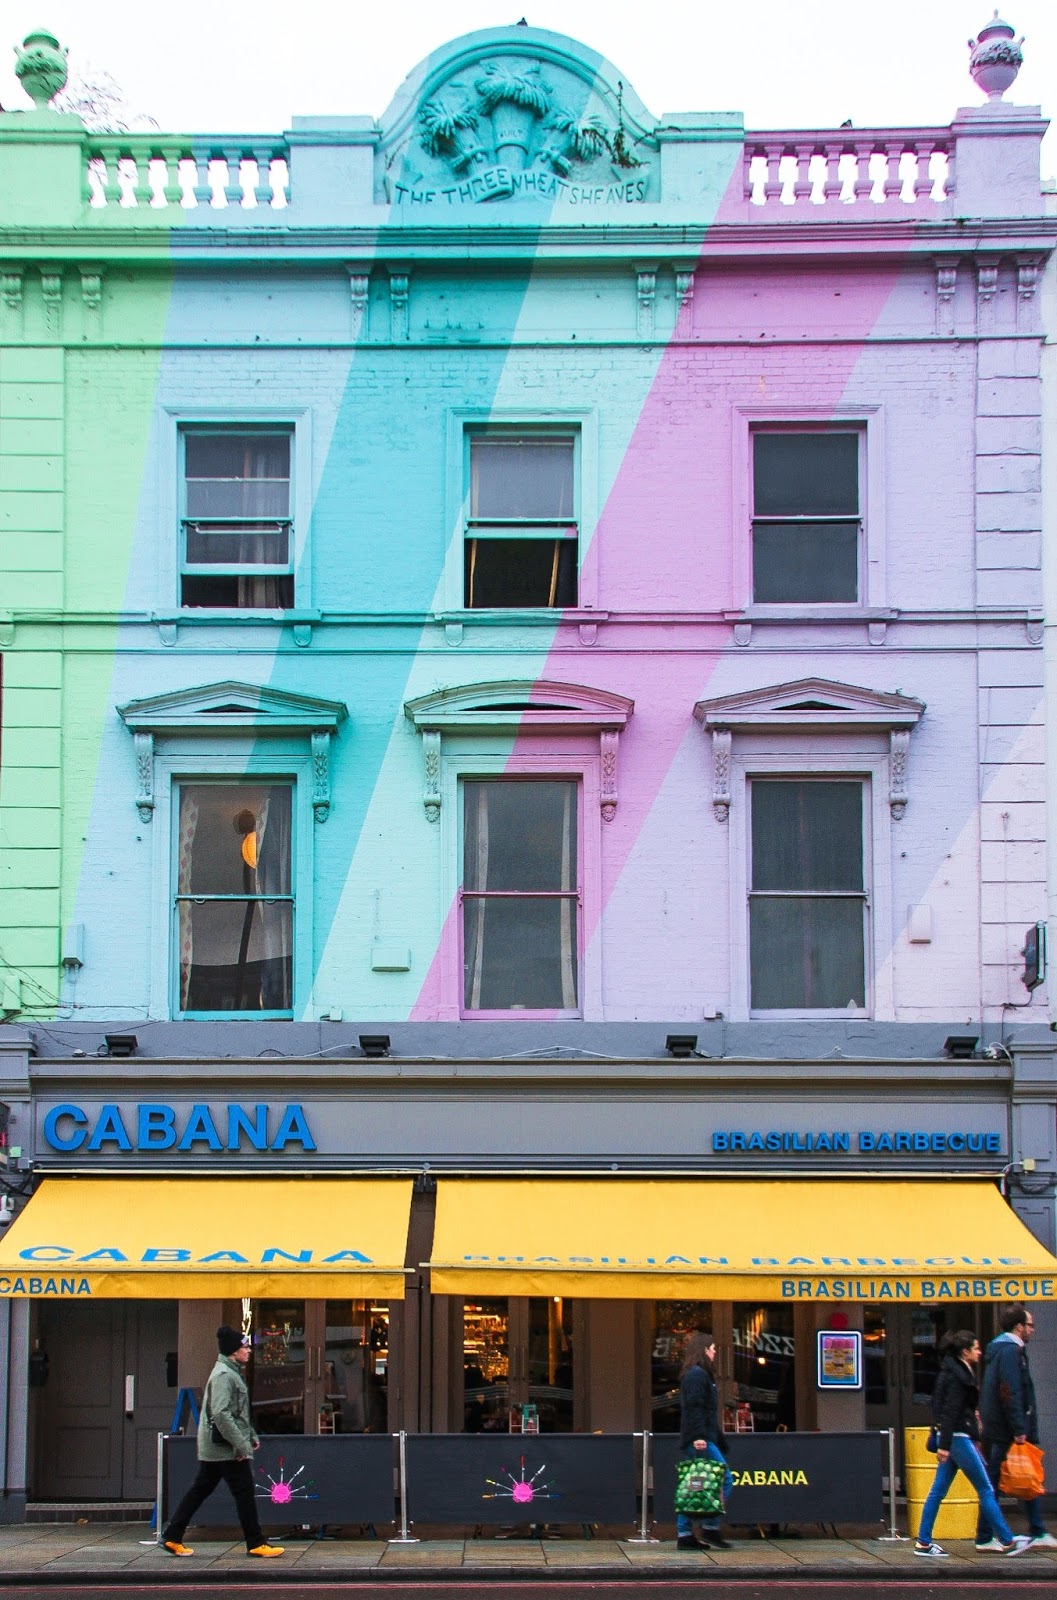
I absolutely love Brazil. I've travelled there twice, got engaged there, made great friends there, and I'm waiting for the day when I can return again. In the meantime, anything that can bring back such incredible memories of the vibrant and complex Brazilian culture is a win-win for me. When I travelled to London this past month, I sought out some of the most colorful places to eat. I'm happy to say that I was not disappointed one bit! I was especially surprised (aka...freaking out) to discover one of the most colorful buildings in the city is also a Brasilian Barbeque restaurant. Needless to say, it was a perfect match. Keep reading to see just how colorfully delicious this place is in every way!
Monday, December 28
I've always wanted to go to London. I don't know when this longing began and I don't know exactly why, but London was just my place to be. The English accent, the pastel houses in Notting Hill, the cheeky humor, double decker buses, and red telephone booths -- I wanted everything touristy and I couldn't wait to have it all. So, naturally, as I trekked across Europe this winter, I was sure to book a few days in London. The big question remained, where would I stay during such an iconic trip?
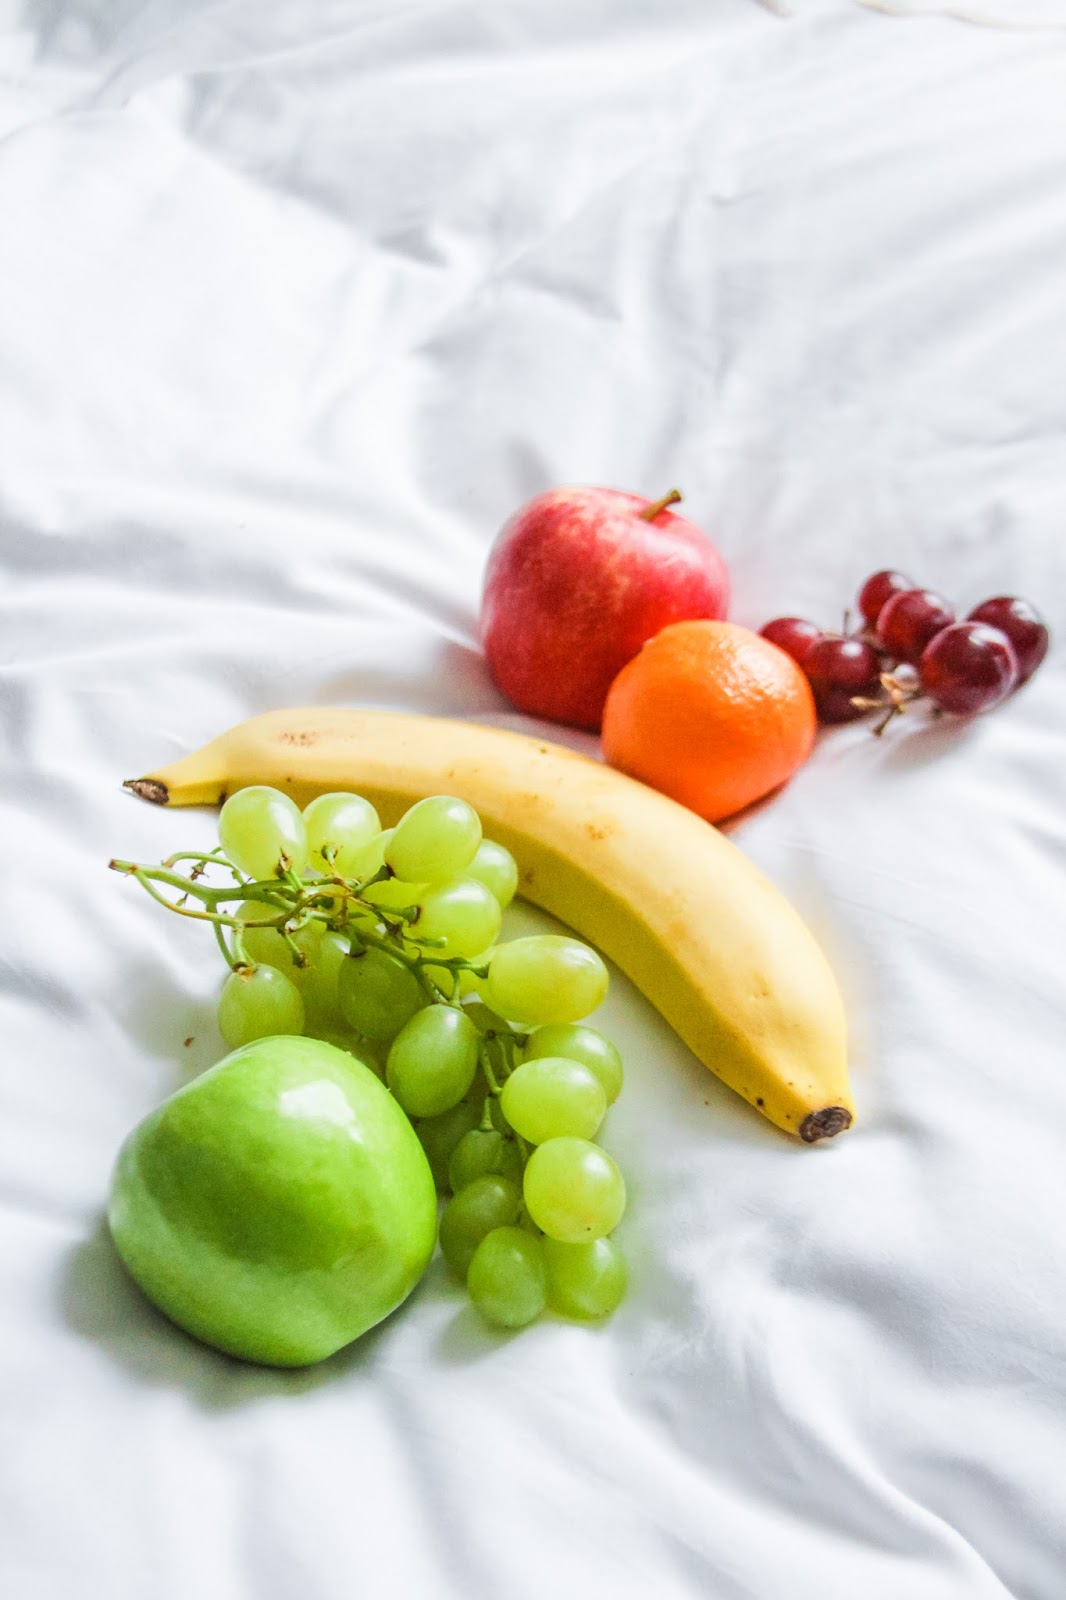
Whenever I travel to a city that is unfamiliar to me, I find it crucial to stay as close to the center of life as possible. It allows you easy access to anything and a sense of comfort in learning the ropes on how to get around. Naturally, the Conrad St. James was the perfect fit! I was so thrilled when they invited me to stay in their stunning hotel in the heart of London. Literally. The Buckhingham Palace and Big Ben are down the street, a major Underground metro stop is across the street, and New Scotland Yard is just around the corner. Even more unique, the Conrad St. James is very creative when it comes to helping guests experience the most out of London. Curious what that could mean? Keep reading below!
Tuesday, December 22
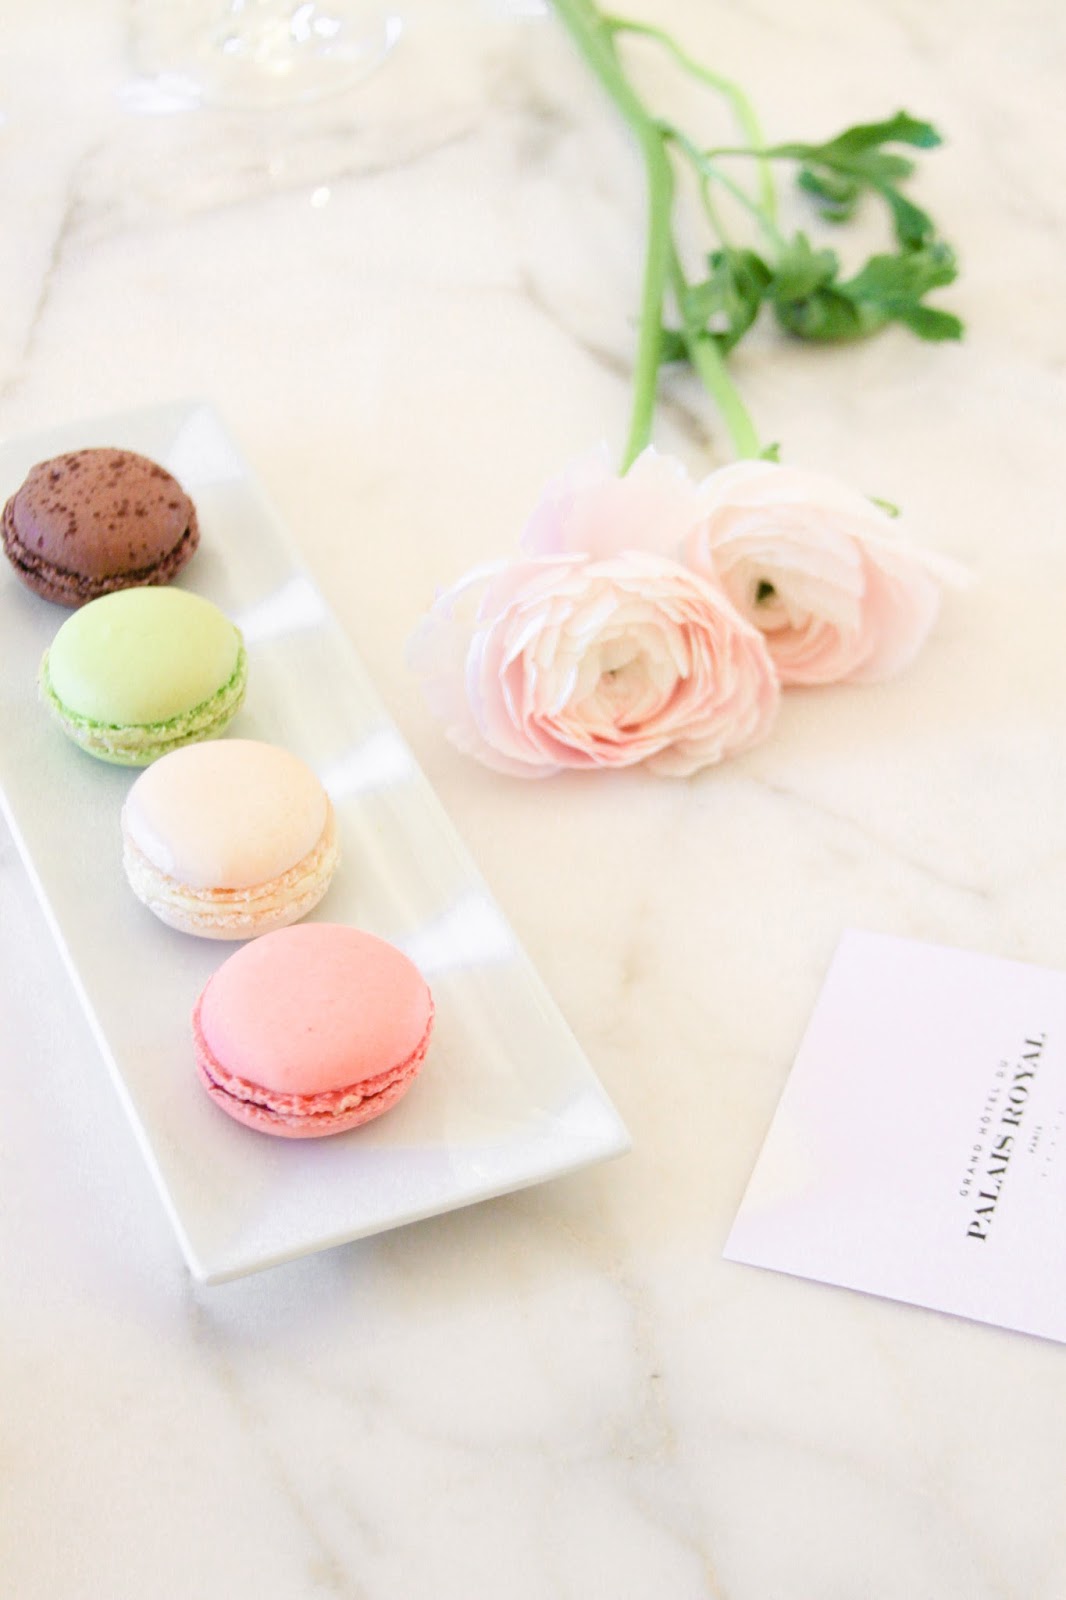
What do you call the ultimate combination of warm luxury, a city of romance, and rooftop views of a sparkling Eiffel Tower? It could be called "perfection," but it just so happens to be called Grand Hotel du Palais Royal. Last week, I had the pleasure of spending a night in this stunning, five-star boutique hotel in the heart of Paris. I arrived exhausted after a 10 hour flight and only left with a longing for the day I return. Curious to know what could have happened in just 24 hours here? Keep reading below...
Friday, May 8
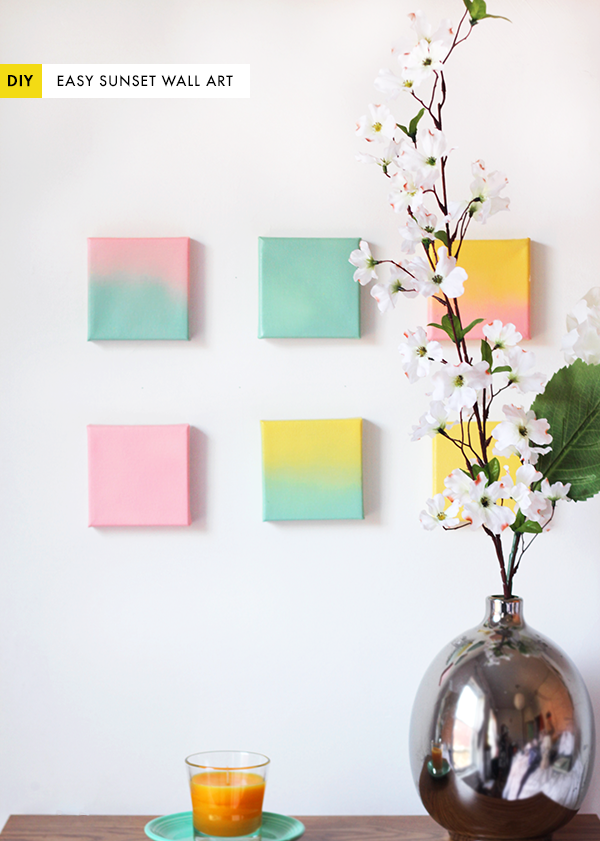
Today's project is inspired by my favorite body of nature - the sun! I was approached to collaborate with Glade to creatively come up with a DIY Decor project that reminded me of summer days by a lake. I immediately felt nostalgic for sunsets over the water, bonfires crackling into the pastel sky, and that giggly warm realization you have when you realize life is pretty darn beautiful. Welp, now that the cheesy inspirational me has spoken, let's get to the fun part! This ombre wall decor is super simple, colorful, and can be completed in under 15 minutes. Sound good? I thought so! Click to read more for the deets...
Monday, February 2
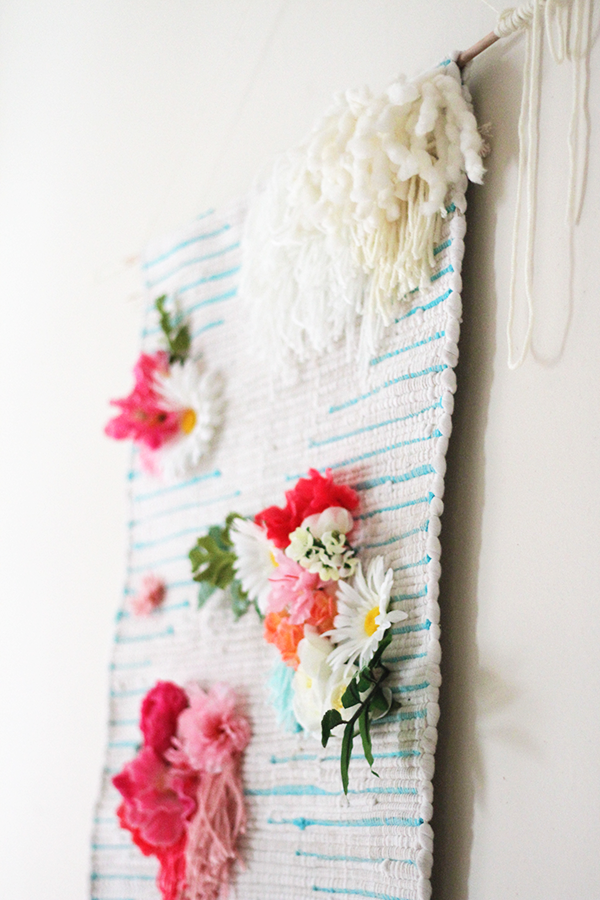
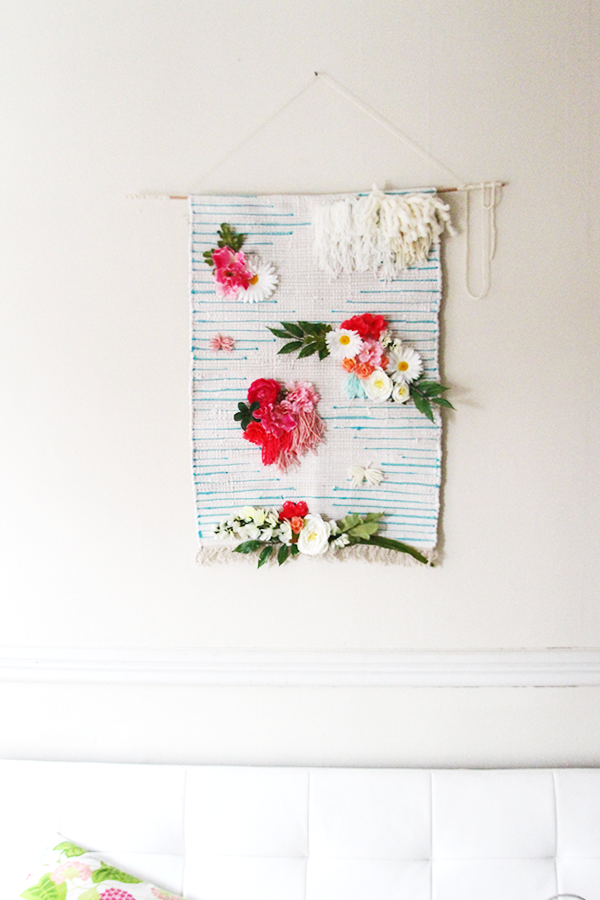
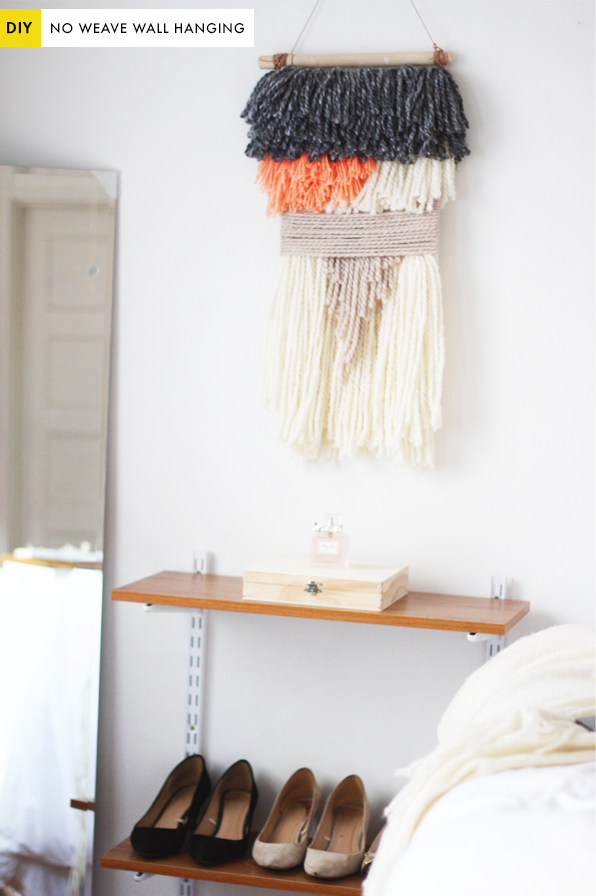
And I did it again - a DIY Woven Wall Art with less than half the effort! Clearly I really don't want to learn the beautiful art of weaving, but when you don't have much time after work it's nice to still create something similar in less time. Last year, I created this "No-Weave Wall Hanging" which introduced a new way to style tassels onto an embroidery sheet. Today's project is definitely one of my all time favorites that uses this technique and, thankfully, my roommates agree since it's now a new part of our apartment decor! I purchased this Plum & Bow Connected Stripe Rug from Urban Outfitters for $24 and bought about $20 of plastic spring flowers from Michael's Arts & Crafts Store (they were on sale!). Together, with some yarn and glue, I was able to create this wall art that adds a unique twist to the typical woven wall pieces. The main trick is to find a rug with texture and a hand woven-like pattern as a base. The way I created this piece allows for the flowers and 3D elements to be taken off and replaced if need be, so you can always change the look with the seasons or simply re-use the rug for its original purposes! Versatility and colorful creativity - that's what I'm talkin' about! Alrighty, here are the details below:
What you'll need: a rug (ideally thin enough to pierce flora stems through or with strong weaving - I got this one at Urban Outfitters); flowers and greenery (from Michael's); yarn; string, plastic embroidery sheets, scissors; nails, glue gun.
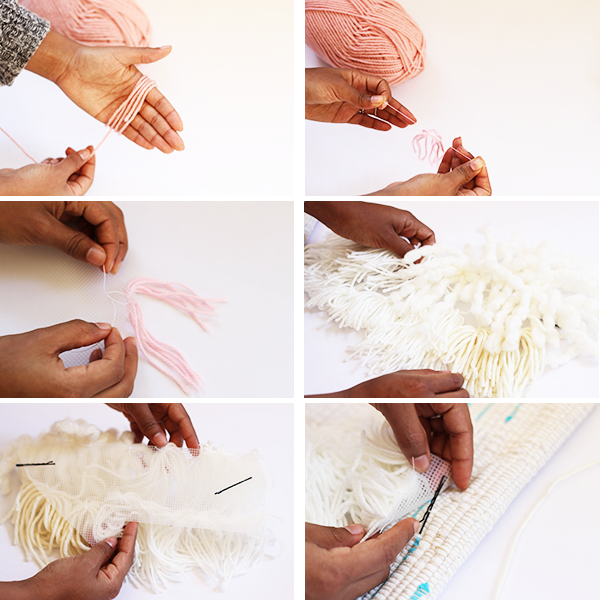
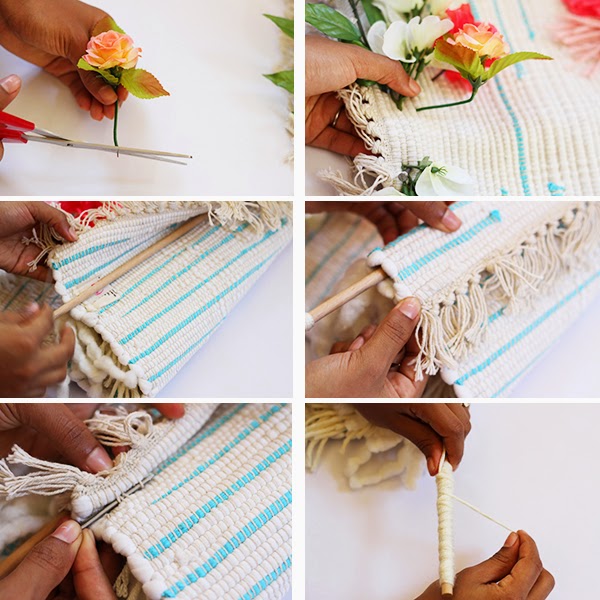
Step-by-step Instructions: First, layout your flowers and yarn and try to sketch or visually imagine a design you want to create on your rug. Next, to create the yarn tassels, I wrap the yarn around the palm of my hand a few times (around 7-10 times). Carefully slide this off your hand and, with a thin string, make a knot on one side of the yarn loop. Use scissors to cut the other end of the loop so the bottom yarn hangs freely. Depending on the design you want to create, tie these string tassels to the plastic embroidery sheet. I easily attached the plastic embroidery sheets to the rug using bobby pins - just slid them into the string wrapping throughout the rug (this is why it's helpful to have a rug like this as your base with woven-like details!). To attach flowers to the rug, I cut the stems so there was at least 2-3 inches from the petals/leaves. Carefully, I slid the stems in between the woven parts of the rug. On the back side of the rug, I bent the floral stems so they would not move. An alternative thing that can be done (and that I did in some cases when the stems were too short), is to use a glue gun and attach the flower directly to the rug surface.
To prepare the rug for hanging: I bought a thing wood dowel for less than $1 at Michael's. Fold one end of your rug over this wooden dowl (how much you fold over depends on how long you want your wall tapestry...I did about 3- inches). Sneaky little trick I did here! Since the rug is quite thick and heavy, I knew that glue or sewing wouldn't hold very well. SO I took some long, thick metal nails (yes, nails!) and wove them through the string on the rug as if I was threading them shut. I used three nails in total (sides and middle). Lastly, wrap string or twine around the edges of the dowel to create a line of the rug to hang on a nail. If you haven't put a nail in the wall yet - you should do that too! That's it! Super fun craft to brighten up your home decor! Give it a try or let me know what you think!
Friday, June 27
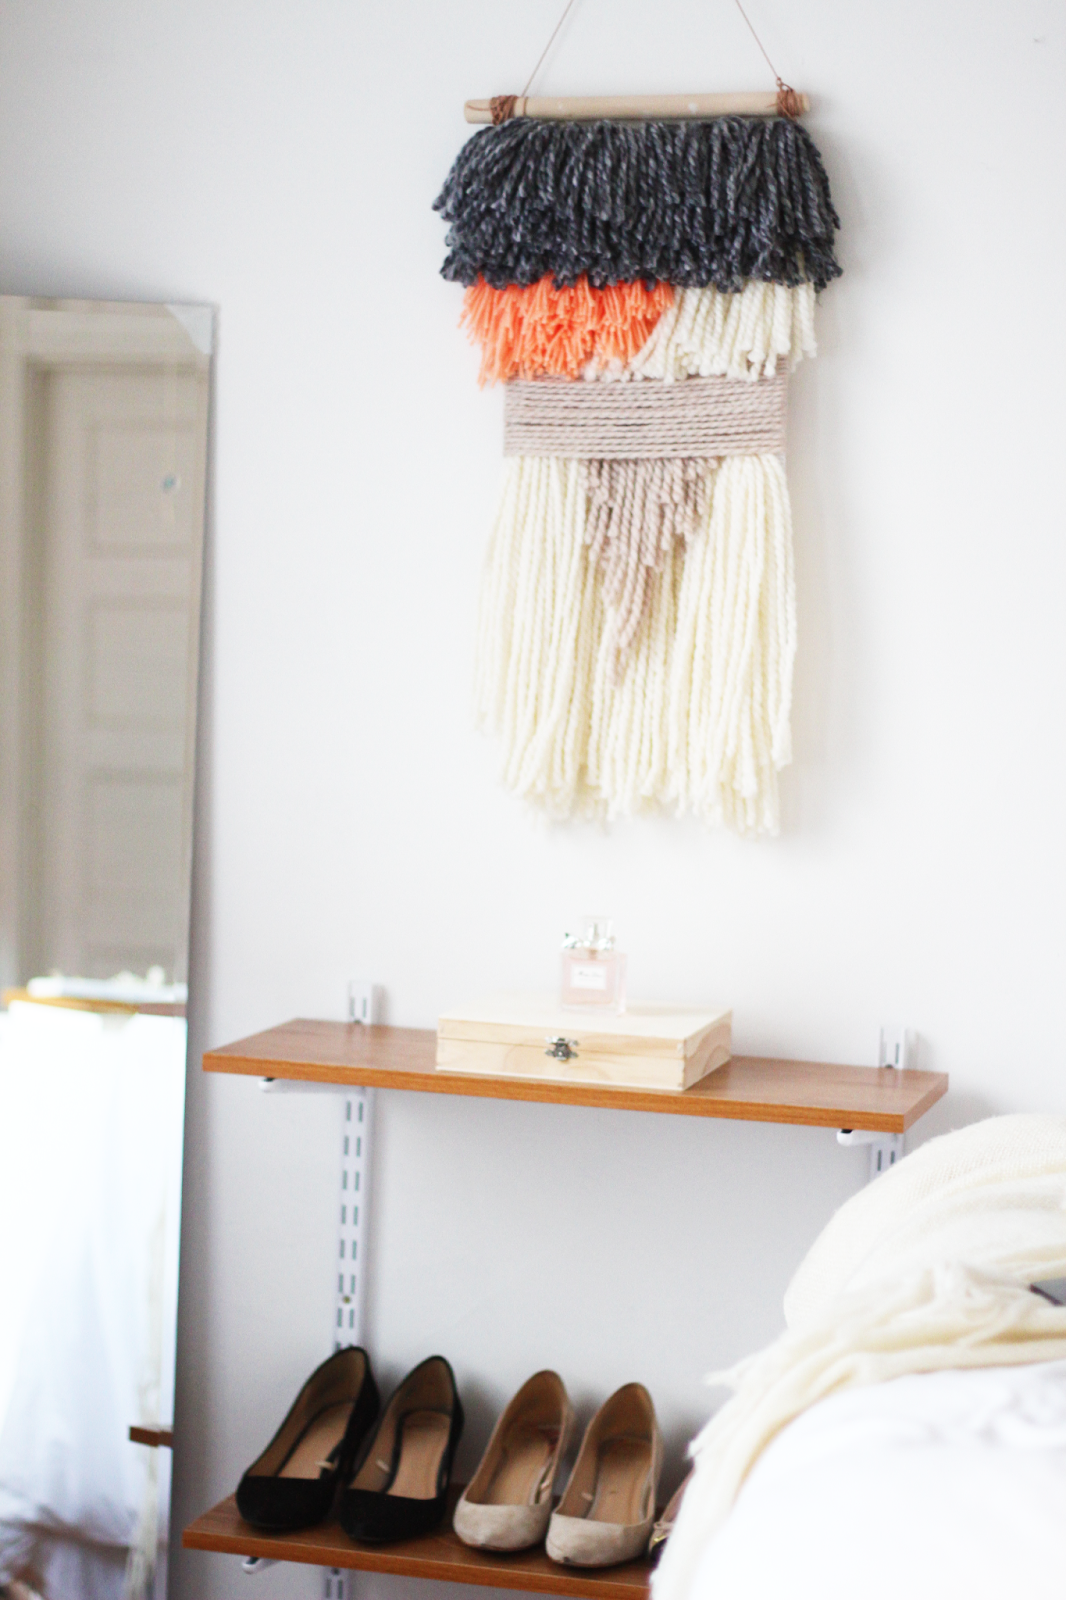
Okay, so I stand corrected. Some people do have time to learn weaving and continue on to produce beautiful products. This is one I have been admiring a bunch lately, in addition to this, this, and this. For those of us who have more admiration than free time, a little shortcut doesn't sound so bad, right? I tried a couple of ways and finally settled on this tutorial to create a non-woven but still 'woven-like' trendy wall hanging. The best part is that it took an insignificant amount of time (1-2 hours), can be easily customized even after it is completed, and cost me less than $25 for all the materials. Boo yah! So let's get started...
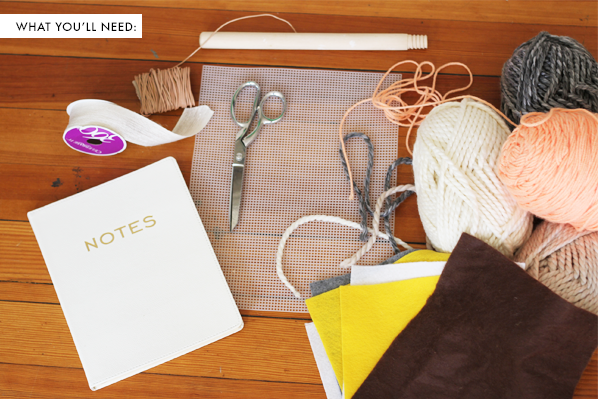
The items you will need: yarn (variety of colors/sizes/types), stiff plastic canvas, thread (the slightly thicker the better), scissors, stick (I used an old paint roller), and leather string for hanging. Keep in mind that you can add any other type of detail to your piece such as wooden beads, fabric scraps, etc. depending on the look you are going for. I spent about $16 on yarn. $0.50 on the canvas, $4.00 on thread/leather string, and $0 on the stick = a total of $20.50!
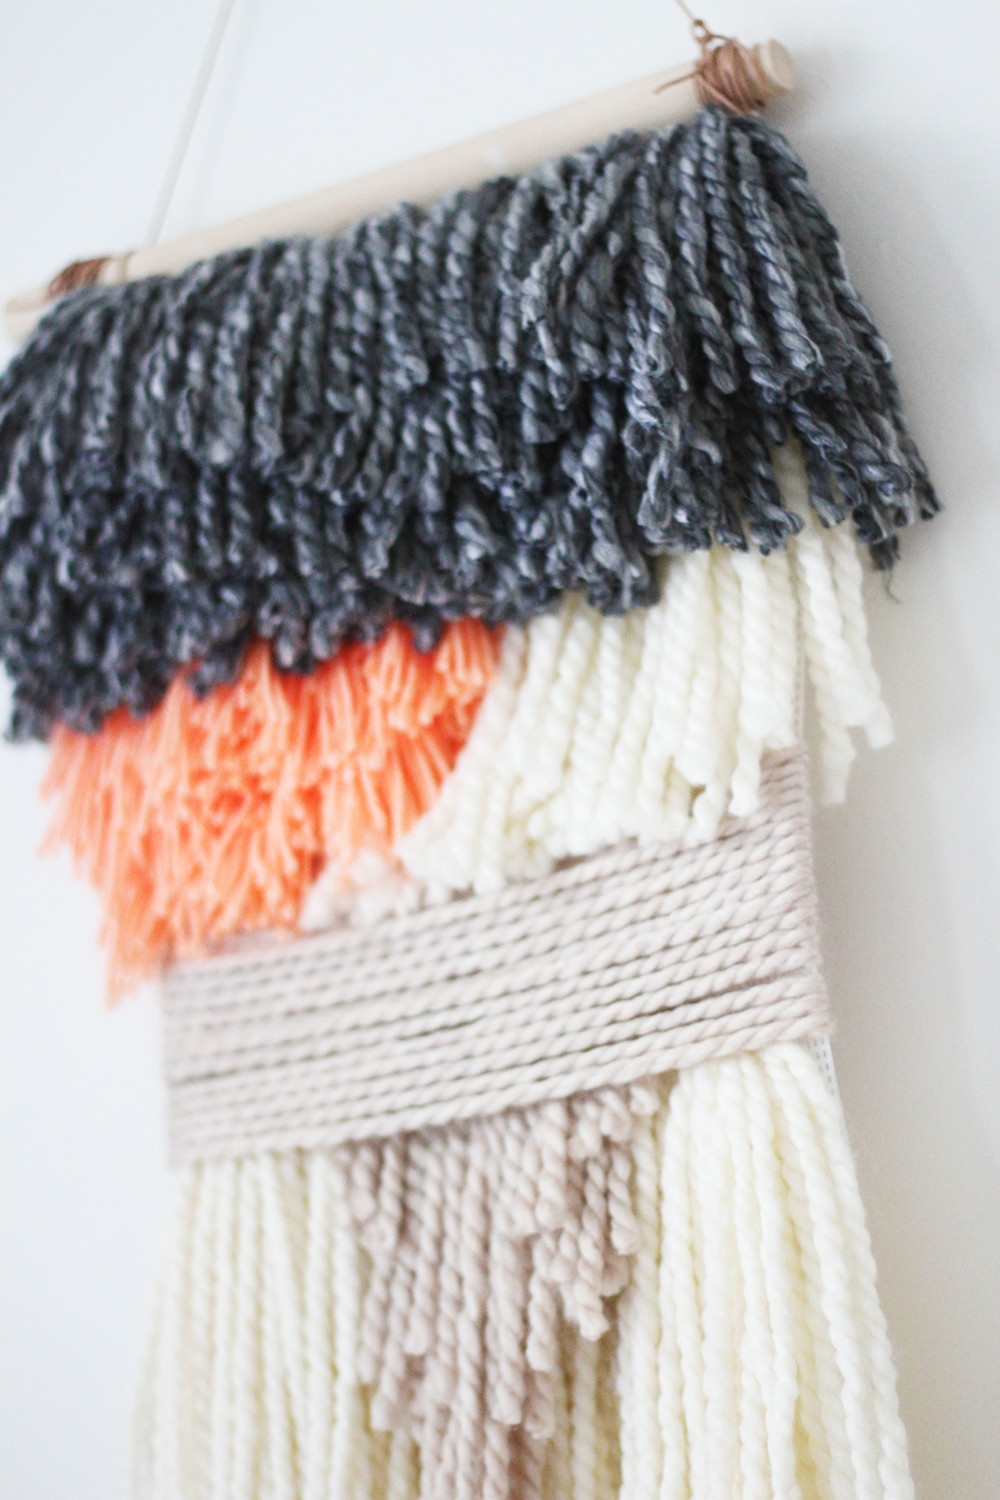
Basic steps: First start by sketching a rough template of what the final piece will look like. It doesn't have to be exact and does not have to be followed once you get going. Just gives you a nice visual to have before getting started and to refer back to if needed. Next, start making the yarn tufts. For the longer length pieces, I wrapped the yarn around the length of my arm, tied a piece of thread to each side of the loop, and cut across the loop in the middle to yield two tufts each tied together by thread. The more you wrap the yarn around your arm, the thicker your tufts will be and the less you will have to make to go across the width of the board. For this top gray layer I made 6 tufts, each created after wrapping the yarn around my arm about 20 times. For smaller tufts, I simply wrapped the yarn around the palm of my hand. Once you have created your tufts tied to string, you can start attaching them to the plastic canvas. For the very top layer, make sure to leave the first row of boxes open so you attach the board to the stick to be hung up. So starting in the second row, simply slide the strings through the boxes in the plastic canvas and tie them together into a knot on the back of the canvas, making sure the tuft is pulled up close to the board as much as possible. Now just repeat! Space the yarn tufts out so they overlap enough not to show the canvas underneath. Once all set, trim off any excess edges or cut the yarn as desired to get the look you want.
The last step is to attach the plastic canvas to a wooden stick. I used an old paint roller we had laying our the apartment which ended up being the perfect size. First I looped leather string through a couple holes in the top corners of the canvas then loop them numerous times around the ends of the stick. Bring the two strings together at the top and tie them together with several knots. Hammer a nail into the wall and hang. All set!
Feel free to experiment with various styles/colors! At one point I wrapped yarn around the board itself rather than creating tufts. I made a cascading effect by cutting the yarn at different lengths or tying the yarn tufts in a diagonal rather than straight across the canvas. Share if you do create one - I'd love to see!
Sunday, June 22
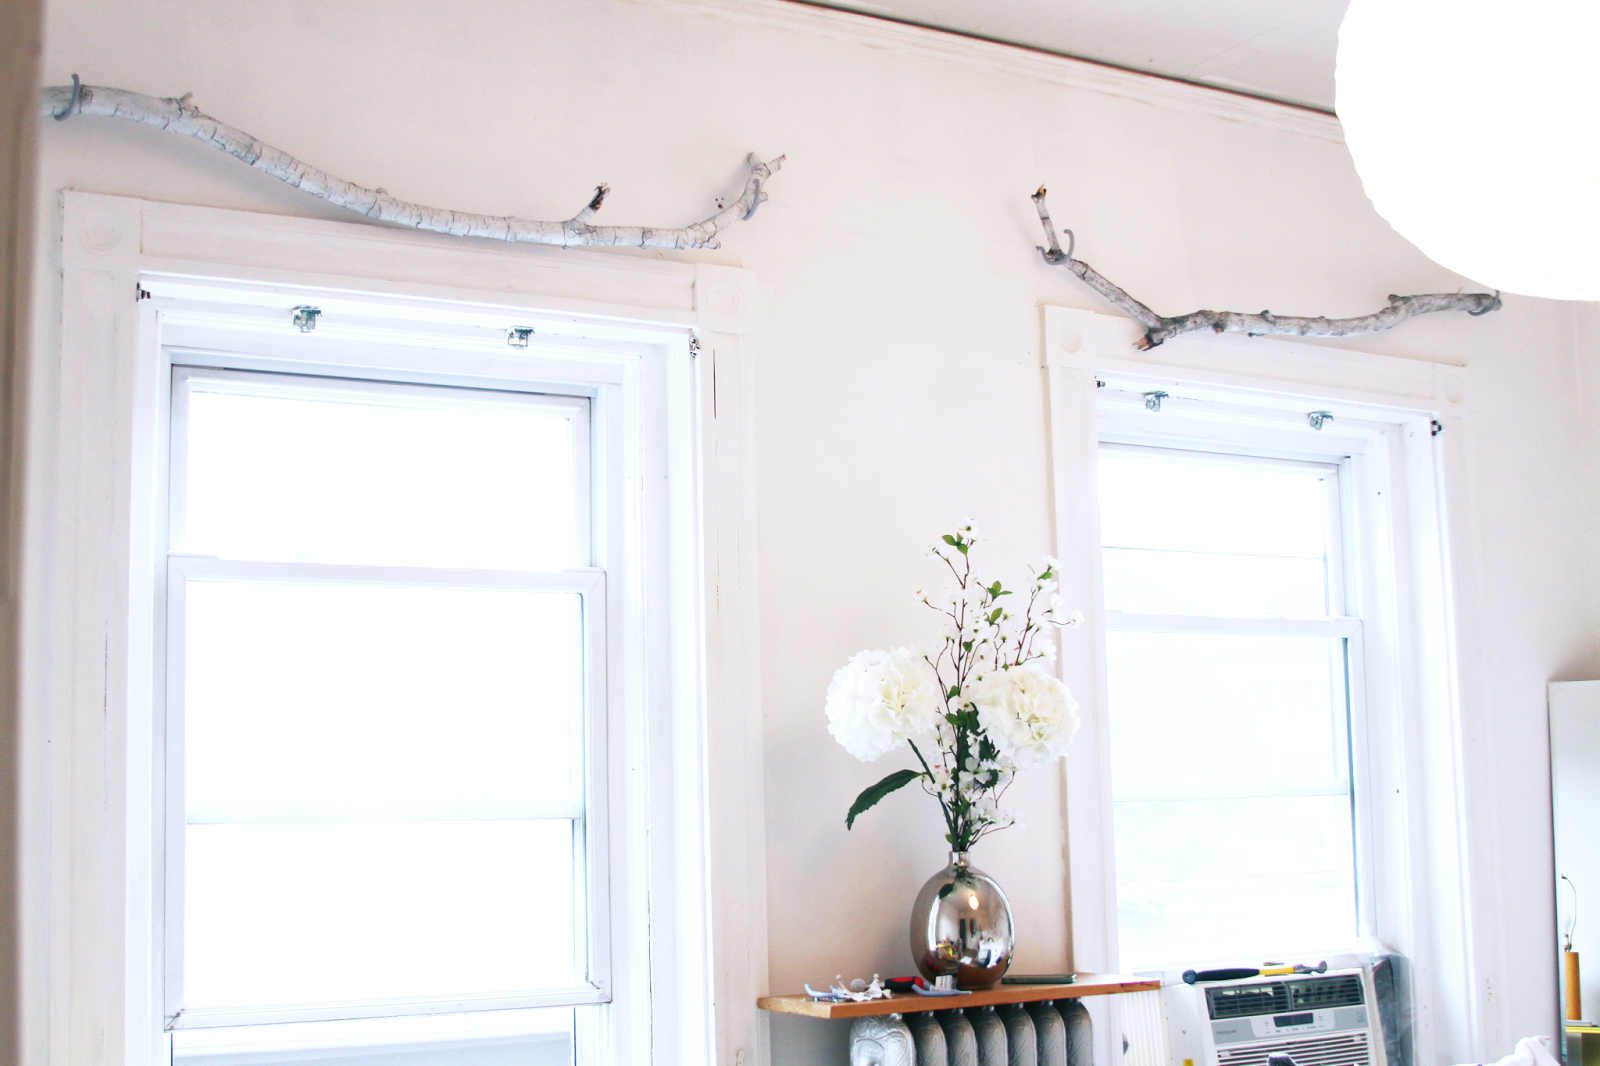
Keeping with the theme of my apartment decor, such as my botanical wall and jewelry holder, I've done it again with my window treatments using the most basic materials! It is such a unique addition to the room and surprisingly only took an hour from start to finish to complete. The hardest part about this project is finding the branches, which was surprisingly a breeze for me after discovering a pile of branches in my previous apartment building's back lot. The goal is to find evenly sized-length branches if you are doing more than one window, and also that they are medium weight - not so thin they will snap but not so heavy they won't stay up. I wanted my branches to blend with my wall so I spray painted them white and let them dry overnight. Here's what you''ll need: branch(es), spray paint (if you want to color them), measuring tape, screw-in bicycle storage hooks, nail (or screwdriver), hammer, and curtains.
Measure how high you want your branches based off the length of curtains you have, then measure perpendicularly across the window top and make two light marks with a pencil - one where each hook will be. Because I don't have a screwdriver to drill holes in the wall, I simply used a thin nail to hammer a small hole, pulled it out, then screwed in the bike hooks (using some muscle!). Once the hooks are secure simply place the branch across them and check that it is even. If your curtains have loops, you can slide them across the branches. Since mine did not, I cut small holes along the top of the curtain and tied them to the branch using twine ribbon. I found this works better because I could adjust the curtain length based off how tight or loose I tied the ribbons (this helps if the branch is curved and would result in uneven curtain length at the bottom). Alright, that's it!
Just so you can see what it looks like before the curtains - another great idea just for general decor!
Tuesday, June 10
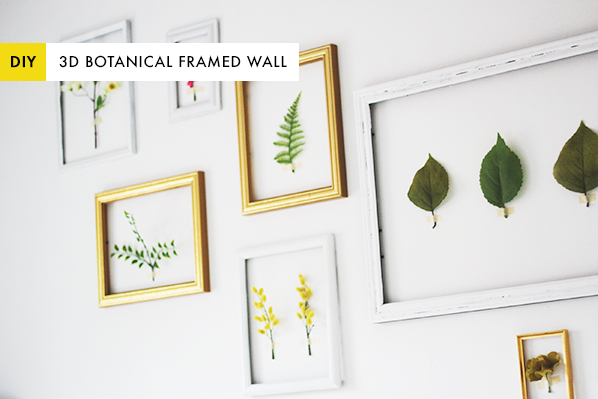
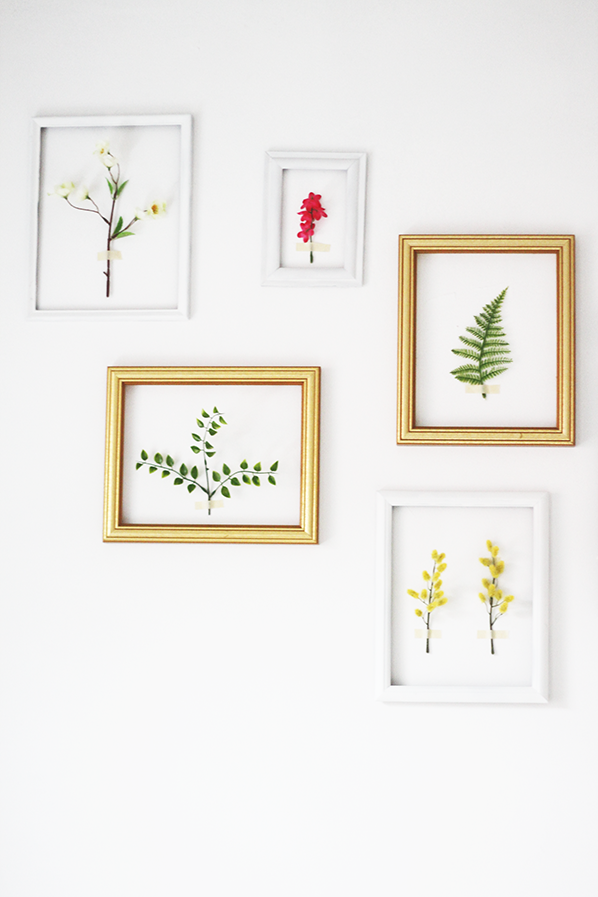
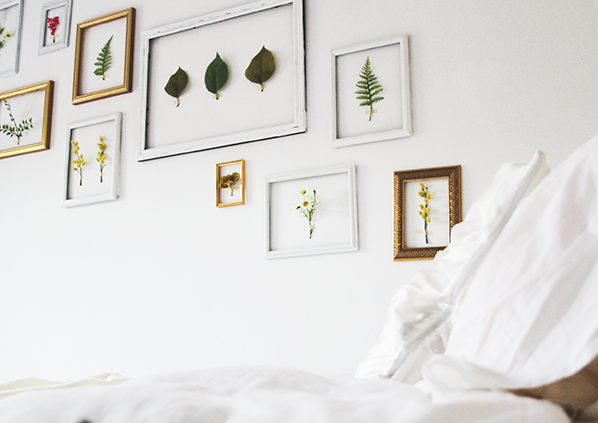
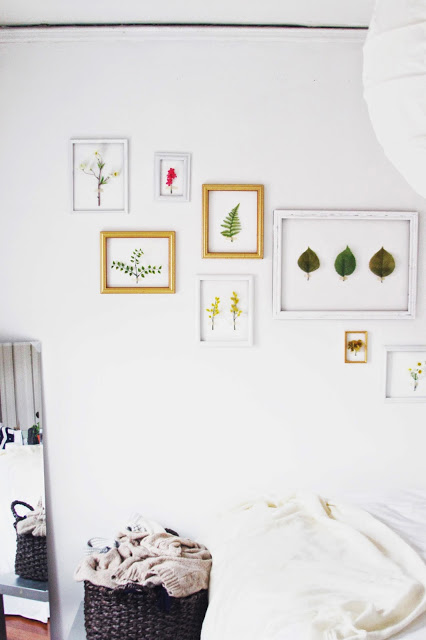
Despite the many downsides to moving, there also quite a handful of joys. For starters, you get to rid of stuff you somehow managed to hide away for months. And the best part is planning an entirely new decor theme for your space. As always, I got my eye on keeping a low budget all the while finding unique ways to style my space. Thus, I present to you, the Framed 3D Botanical Wall! Some of you may have seen a twist to this DIY from before when I was in college, but now that I've 'upgraded' to real-world adult life, I've transformed this decor into something more refined, polished, and sophisticated. As always, super easy and super affordable! Here's the break down:
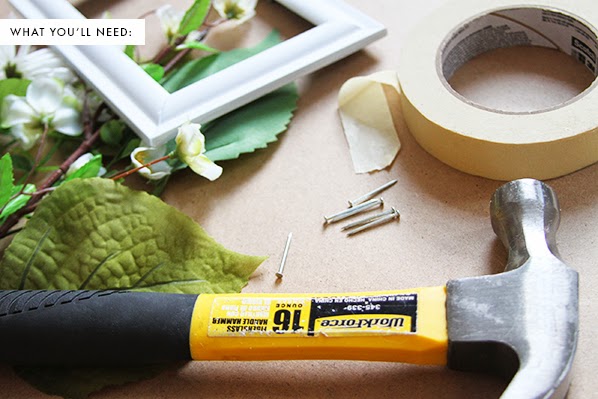
You'll need: empty frames (bought a whole bunch of different sizes at Goodwill for $2 each!), fake flowers, cream colored masking tape, scissors, nails, and a hammer.
I first started out by organizing the frames and flowers on the floor to get an idea of a pattern. Then, simply hammer nails into the wall where desired, hang your frames, and tape the flowers into an organized and neat pattern. Easy breezy!
I kept my decor just to a diagonal, but you could easily fill up a whole wall with this decor. Hope y'all like it!
Friday, April 5
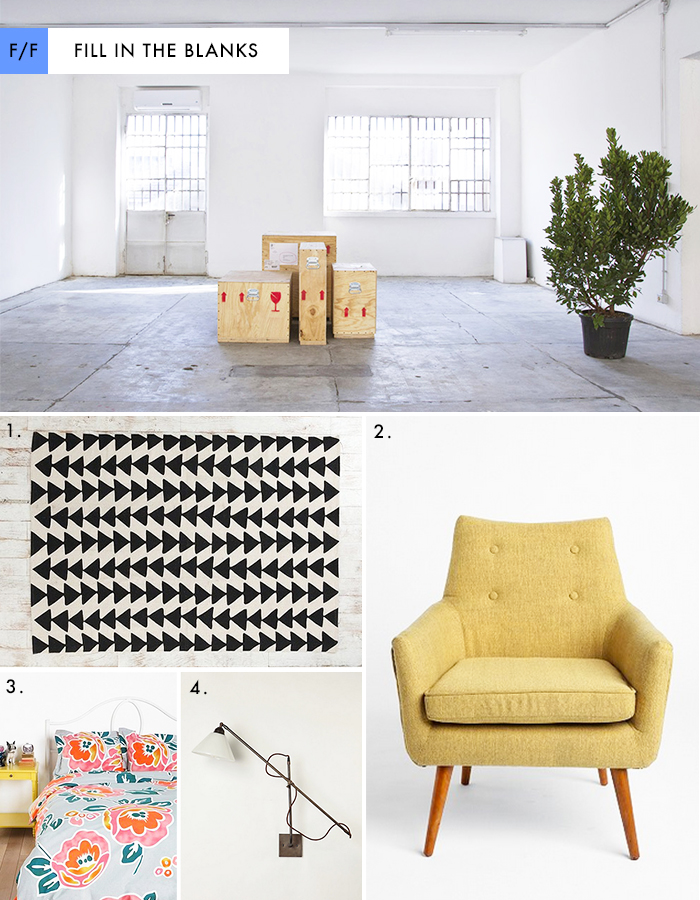
I know, I know. I'm going a bit crazy with the home decor lately but that can all be explained! After landing my first ever full-time job (yay for post-grad life working out!) I've been scouring apartment sites for places to rent in Boston. Unfortunately, the stunning, all-natural, bright, spacious, and homey pictures I've been looking at on Pinterest have raised my expectations a bit too high now that I realized my budget probably won't get me anywhere close. Alas, the past friday faves have been my outlets to *imagine so wonderfully* what I would do if I had my perfect apartment space. For starters, there would be tons of natural light -- and I'm talking huge windows, please. Next, it would be a colonial, rustic place with hardwood floors and flat, white walls. The rest of the space I would pretty much decorate in all things Anthropologie, Urban Outfitters, vintage/thrift finds, and the occasional Ikea DIY piece here and there. Ah, if only this were real life!
room image | one | two | three | four
Labels:
decor,
friday faves,
furniture,
home,
room
Friday, March 29
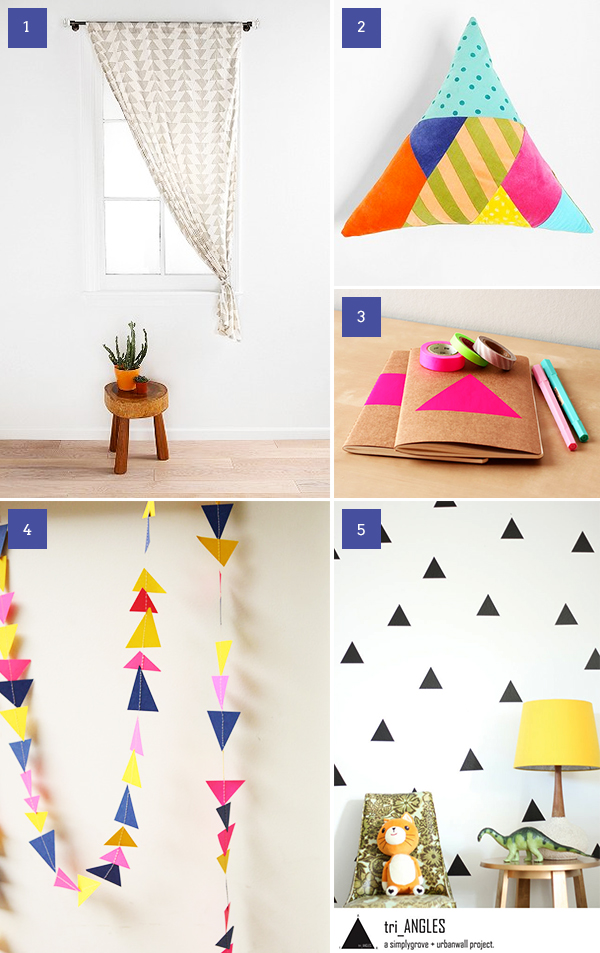
I have been loving the triangle look on all things decor. I think triangles are such interesting shapes because they can be warm and edgy simultaneously. I dream of the time when I can finally do whatever I wish to my living space, but in the meantime these are my fave triangle decor favorites! And if you're looking for equally killer triangle clothes, these cut out jeans are pretty bomb (see here).
one // two // three // four // five
Tuesday, March 5
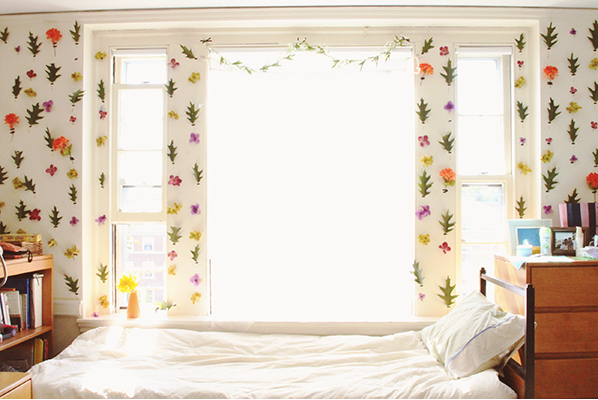
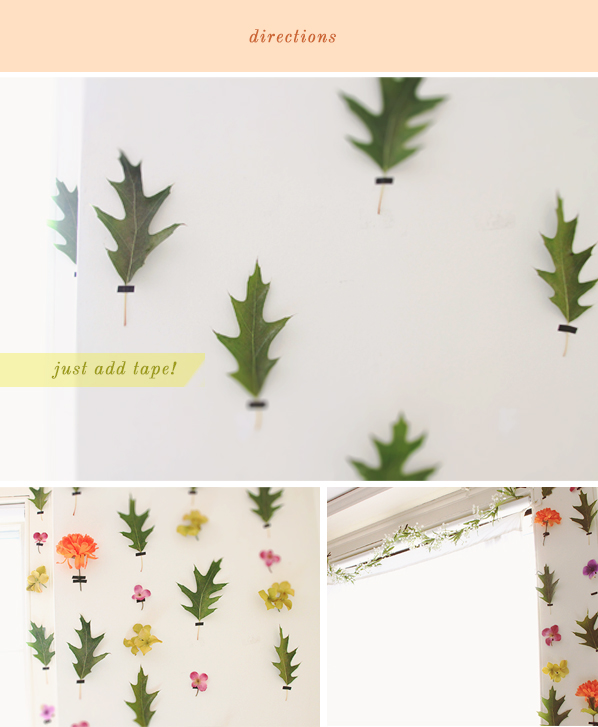
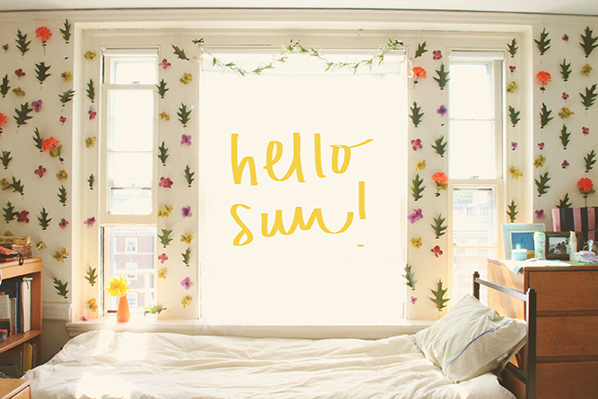
I am so happy for the winter to get booted out and spring to be ushered in! As a true bred Californian, I feed off the sunshine, lazy afternoons, and color. For the past 4-5 months I have all but none of these things, so I may be a little starved of all things wonderful at the moment. This DIY removable spring floral wallpaper is great for those with non-permanent housing (i.e. renters or college students) and yet it adds so much color and originality to a room! I may have gone a bit overboard by adding the 'fairy' like white flowers over the window but, hey, it's my space! Overall, try to pick more mute colors for a base (i.e. various tones of green leaves/flowers) and then add that subtle punch with a few really bright flowers (for example, the occasional orange, purple, and yellow petaled ones in the picture). I bought a few large bouquets of fake flowers at Joann's when they were on sale for $0.99 each and just broke them apart to turn them into many small flowers. Lining the flowers in vertical rows also helps create a "wallpaper effect" and to organize the colorful, natural burst that has exploded on your wall. Feel free to experiment with colors and designs, though -- just be (colorfully) inspired!
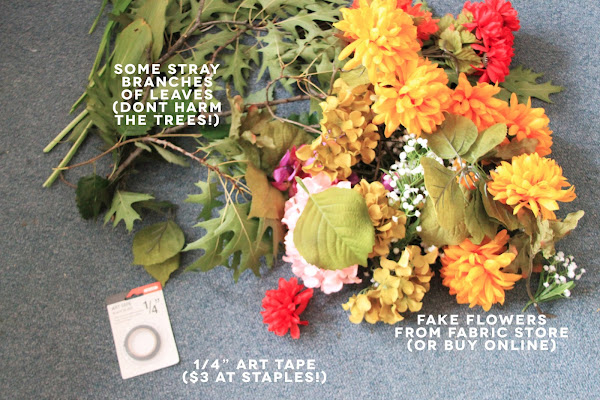
MATERIALS YOU'LL NEED:
colorful plastic flowers
duct tape
(the thinner the better!)
Tuesday, January 8
INGREDIENTS:
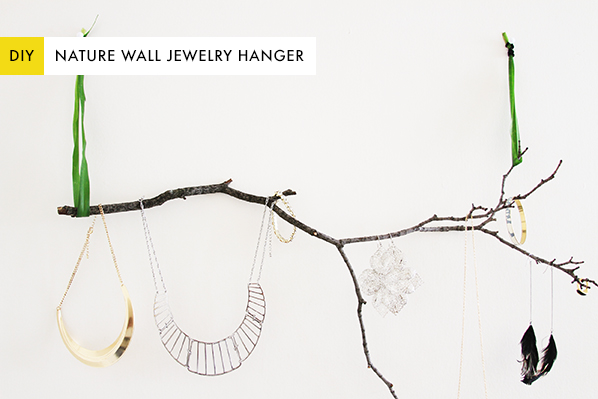
Stray branch (don't harm the trees!)
Long, thin leaves or yarn
Thin hair ties
White push pins
INSTRUCTIONS:
STEP ONE: Carefully loop a long branch leaf (or yarn!) around the furthest stable ends of the branch.
STEP TWO: Grab the leaf edges together and slowly begin tying the thin hair tie as though it were a ponytail. Leave a little slack which will be used later to slip over the pushpin in the wall.
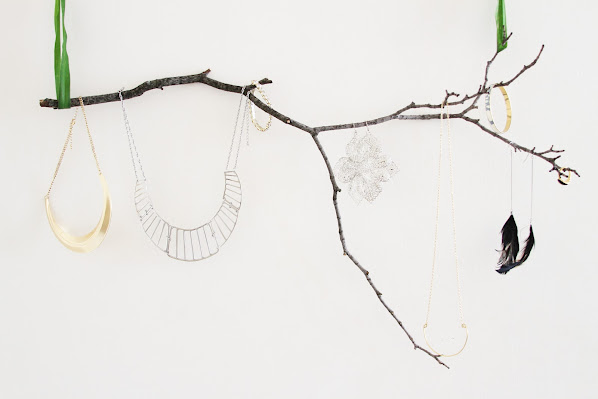
STEP THREE: The branch should look like this -- kind of like a large tear drop.
STEP FOUR: Then, press two push pins into the wall. It helps to put the branch up against the desired wall area and lightly mark the width of the branch with a pencil. I ended up placing the pins a few inches inside of the very edges.
STEP FIVE: Taking the little slack in the hair tie, loop it over the pushpins on the wall.
STEP SIX: If necessary, readjust the pins of your wall to level out the branch so it is as straight as possible. Then, just begin draping your necklaces, hook your earrings, and hang your bracelets!



 40 comments:

