Beste Online Casinos NederlandCasino Utan SpelpausOnline Casinos Not On Gamstop 2025Casino Online Senza AutoesclusioneCasino Non AamsCasino Non Aams Italia
Showing posts with label colorblock. Show all posts

DIY | Candy Dot Purse

Wednesday, September 23


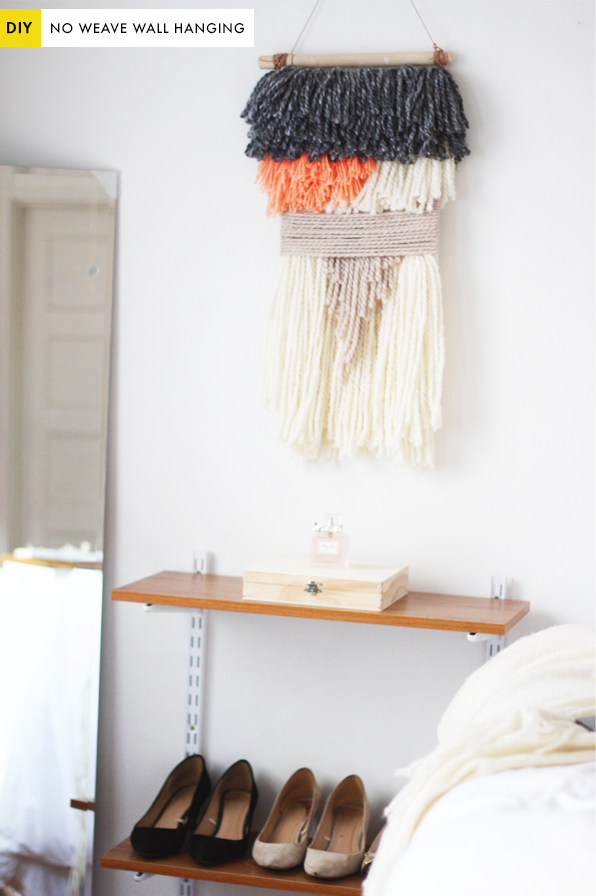
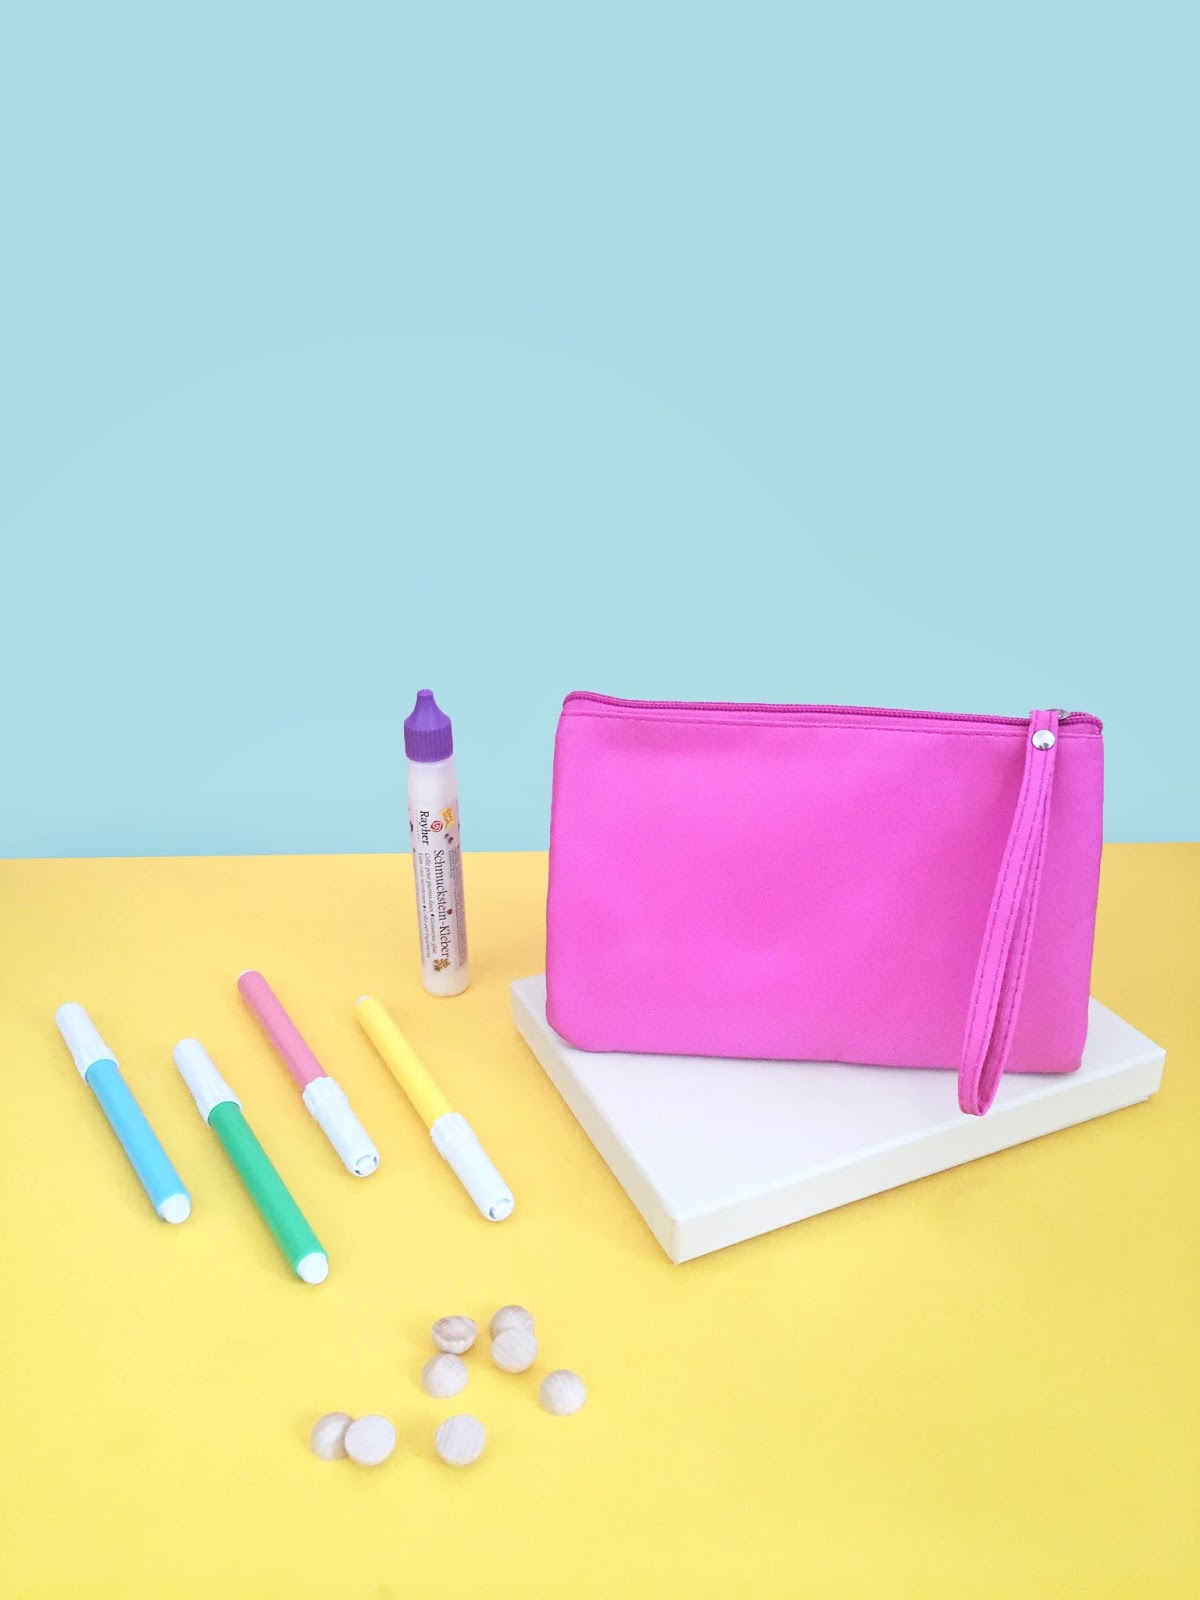
Somebody say candy dots?! This DIY clutch is inspired not only by those color coated mounds of pure sugar, but also by this bag by designer. I saw it in a fashion post by CarrieC a couple weeks bag and fell in love. What else was I to do than try to make a spin-off? Here it is folks...fun, quick, and easy!

What you'll need:
-solid color bag/purse/clutch
-semi-circle wooden dots
-markers
-strong glue


Instructions:

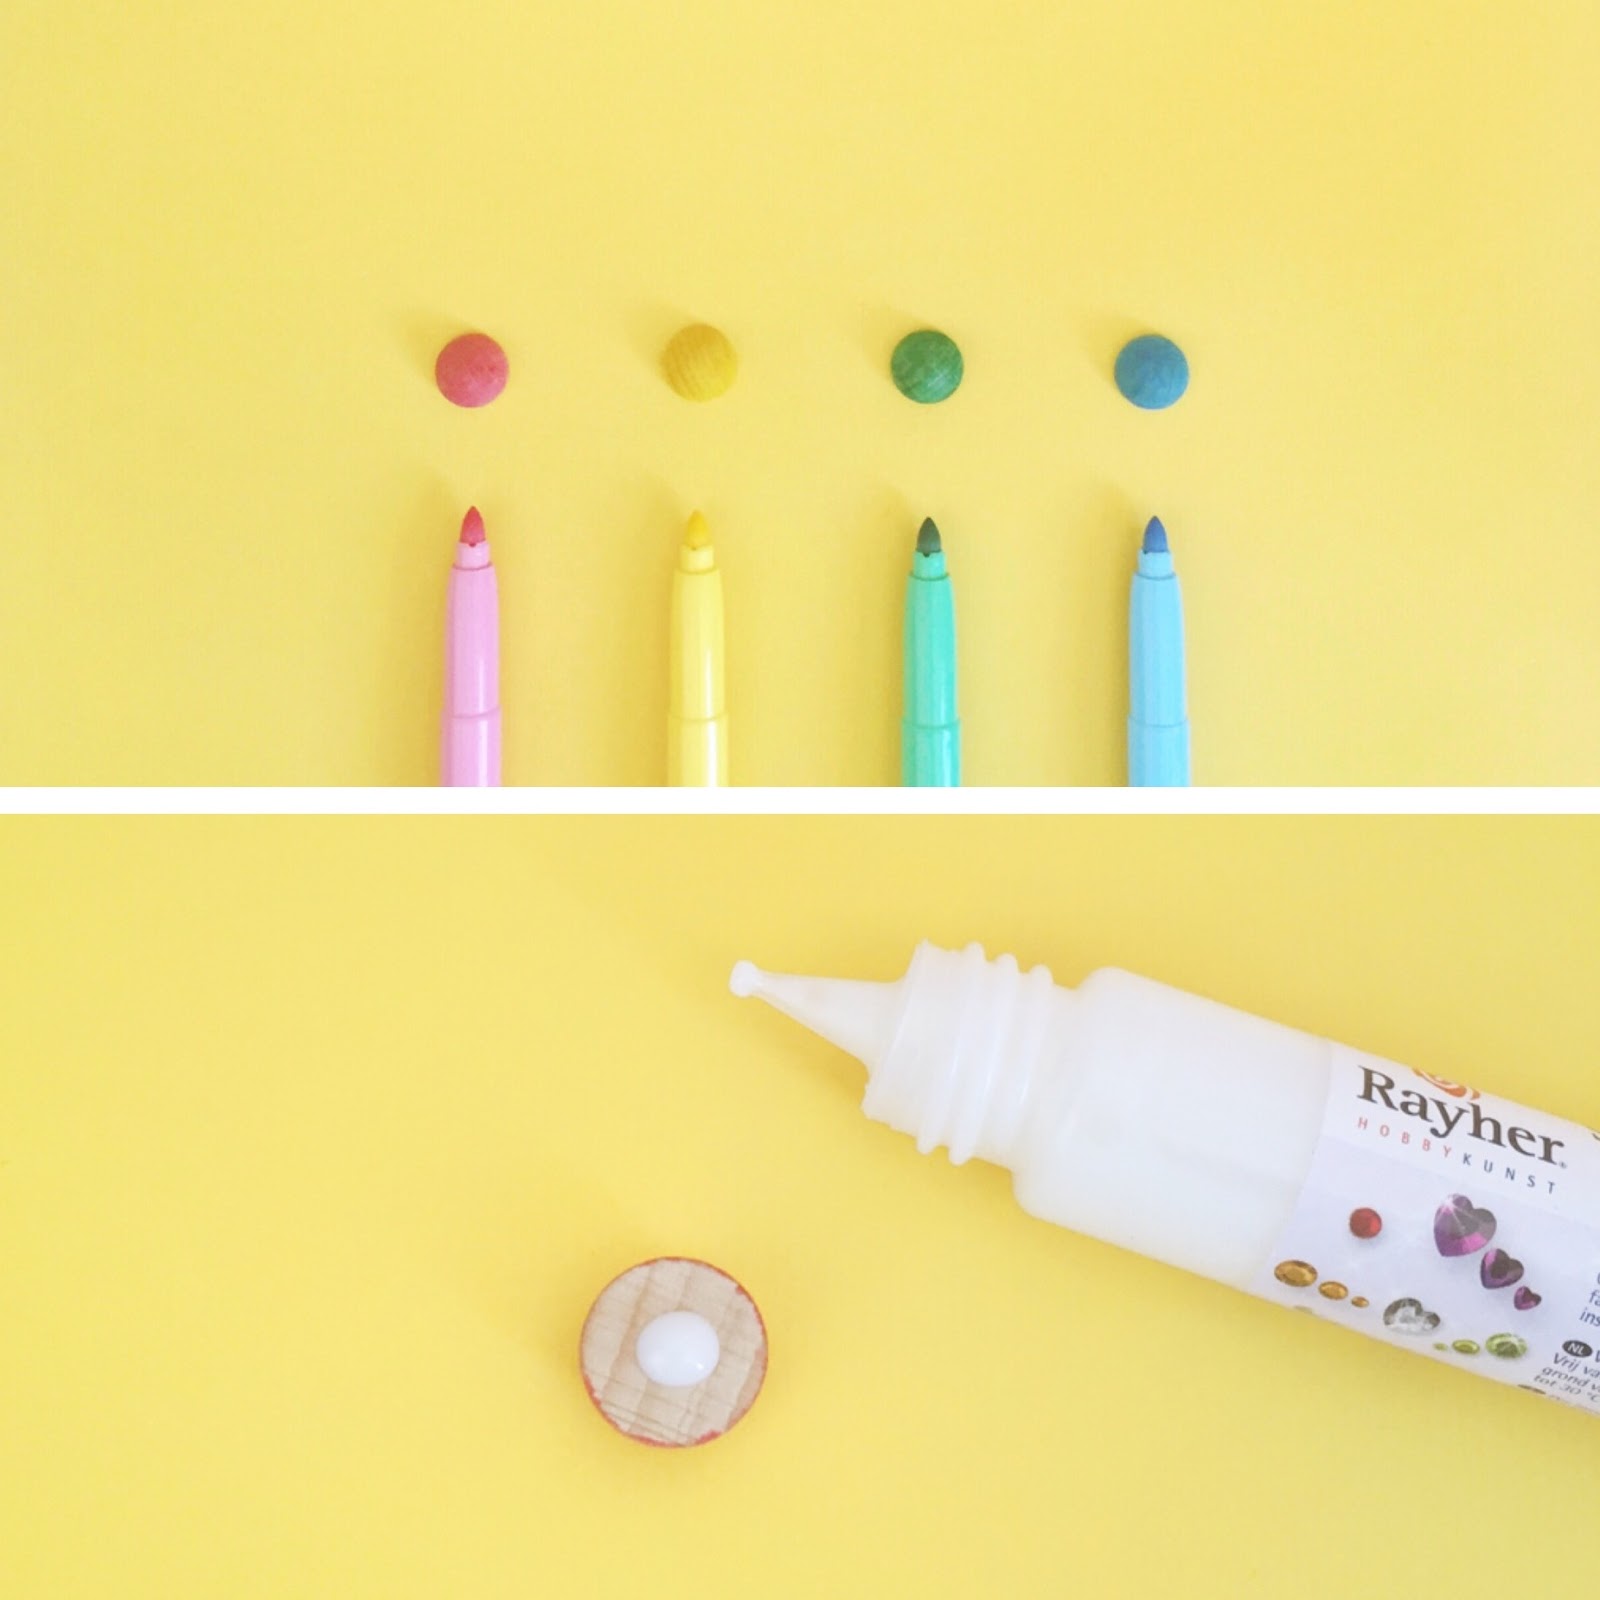
1. Color your wooden dots as desired using markers. You could also spray paint them, but given that I made these while on vacation, I didn't have the option. Using a marker means essentially no drying time, but also means a less than perfect color coating.

2. Align the dots on the bag as desired. Drop a dot of glue on the base of the wooden semi-circle and press onto the surface of the bag. Hold for at least 15-20 seconds, or until glue has dried enoughto keep the wooden circle secured. 


3. Continue gluing dots to your heart's content! Let the bag sit for an hour or two to ensure the glue dries thoroughly. Then, hit the town and buy some sweets to stuff it with! :)


DIY || #27 || Weaving...Aint nobody got time for that!

Friday, June 27


Okay, so I stand corrected. Some people do have time to learn weaving and continue on to produce beautiful products. This is one I have been admiring a bunch lately, in addition to this, this, and this. For those of us who have more admiration than free time, a little shortcut doesn't sound so bad, right? I tried a couple of ways and finally settled on this tutorial to create a non-woven but still 'woven-like' trendy wall hanging. The best part is that it took an insignificant amount of time (1-2 hours), can be easily customized even after it is completed, and cost me less than $25 for all the materials. Boo yah! So let's get started...


The items you will need: yarn (variety of colors/sizes/types), stiff plastic canvas, thread (the slightly thicker the better), scissors, stick (I used an old paint roller), and leather string for hanging. Keep in mind that you can add any other type of detail to your piece such as wooden beads, fabric scraps, etc. depending on the look you are going for. I spent about $16 on yarn. $0.50 on the canvas, $4.00 on thread/leather string, and $0 on the stick = a total of $20.50!

Basic steps: First start by sketching a rough template of what the final piece will look like. It doesn't have to be exact and does not have to be followed once you get going. Just gives you a nice visual to have before getting started and to refer back to if needed. Next, start making the yarn tufts. For the longer length pieces, I wrapped the yarn around the length of my arm, tied a piece of thread to each side of the loop, and cut across the loop in the middle to yield two tufts each tied together by thread. The more you wrap the yarn around your arm, the thicker your tufts will be and the less you will have to make to go across the width of the board. For this top gray layer I made 6 tufts, each created after wrapping the yarn around my arm about 20 times. For smaller tufts, I simply wrapped the yarn around the palm of my hand. Once you have created your tufts tied to string, you can start attaching them to the plastic canvas. For the very top layer, make sure to leave the first row of boxes open so you attach the board to the stick to be hung up. So starting in the second row, simply slide the strings through the boxes in the plastic canvas and tie them together into a knot on the back of the canvas, making sure the tuft is pulled up close to the board as much as possible. Now just repeat! Space the yarn tufts out so they overlap enough not to show the canvas underneath. Once all set, trim off any excess edges or cut the yarn as desired to get the look you want.


The last step is to attach the plastic canvas to a wooden stick. I used an old paint roller we had laying our the apartment which ended up being the perfect size. First I looped leather string through a couple holes in the top corners of the canvas then loop them numerous times around the ends of the stick. Bring the two strings together at the top and tie them together with several knots. Hammer a nail into the wall and hang. All set!


Feel free to experiment with various styles/colors! At one point I wrapped yarn around the board itself rather than creating tufts. I made a cascading effect by cutting the yarn at different lengths or tying the yarn tufts in a diagonal rather than straight across the canvas. Share if you do create one - I'd love to see!


DIY || #22 || Eco-Friendly Plastiband Charger Decorations

Wednesday, May 22

Refresh your mac chargers using colorful plastibands - no more washi tape!

Pardon my slight delay with DIY projects this past week -- it's my senior week before graduation so I've barely had time to even upload pictures from my camera! Alas, here is this week's DIY which was totally inspired by all things summer, sorbet, and fresh. I'm not quite sure what to call it - is it an embellishment, a decoration, a...colorful thingy? Whatever it is, I decided to spruce up my mac chargers using these vibrant plastibands. I saw them by the check out counter at Blick's Art Supplies and Materials in Boston even though I didn't know what to do with them. I can't remember the last time I actually used rubberbands, but given how colorful these are I just had to find a way to put them to (consistent) use. Inspired by all the Washi Tape charger embellishments (though not pleased with the prices of washi tape!), I wanted to mimic that look using summer flavors. It's such a simple project (took me less than 5 minutes from start to finish) and it is completely customizable based on how you want it to look. Also, apparently, these plastibands are latex-free, 3X stronger than rubberbands, and recyclable - making them much healthier to use for both yourself and the environment (at least that's what it says on the package). Here is what I came out with, let me know if you try it too!
Refresh your mac chargers using colorful plastibands - no more washi tape!

Simply unplug the usb cable from your iPad charger and begin sliding on the plastibands. I did each color twice to make the strips appear bigger. Decide on a color pattern and just keep adding bands as you please. The best part about this is that you can always start over, re-do it, change it, and add more colors as often as you like since they are not-permanent and won't leave any sticky residue like with Washi tape. The colors included in the box are red, pink, green, blue, yellow, white, and green. My first color combination was inspired by summer lemons and limes - just use green, yellow, and white. But don't stop there -- make friends and decorate your laptop charger too!
Refresh your mac chargers using colorful plastibands - no more washi tape!

This next color combination was inspired by a flavor I saw in a local Cambridge ice cream parlor called orange berry sherbert. Sweet and fruity! Happy summer decorating!
Refresh your mac chargers using colorful plastibands - no more washi tape!

Refresh your mac chargers using colorful plastibands - no more washi tape!

DIY PROJECT || # 17 || COLORBLOCK BUTTON-UP

Tuesday, April 2


I have been anticipating the week I get to post this DIY project for you all! I made this colorblock button up way back in January, but thought it fit better with spring time wear rather than winter. Anywho, I am a huge fan of all things colorblock so this project was right up my alley. After ransacking my older brother's closet on winter break, I found a couple white button ups from his younger days that fit perfectly on me. If you have a boyfriend, husband, brother, dad, or any other man who's closet you can raid -- get kickin! In just about an hour I transformed the shirt into a stylish, spring top that goes great when paired with skinny jeans and boots.
Here's what you'll need:


And here are the steps to make the shirt: 


Step one: Lay out the blouse on a flat suface and, using a fabric cutter or scissors, begin cutting out the back piece of the shirt. I just cut along the insides of the original seams.
Step two: With the back cut out, lay it over the new, colorful fabric you wish to use. Cut the fabric along the outline of the original shirt piece, leaving about 1/2" to 3/4" extra along the borders. It helps to pin the two fabric pieces together while doing so.
Step three: Fold in the extra 1/2" that you had cut all along the sides and then loosely hand-stitch the sides inside. I did this because the fabric I used frays a lot, and it made it a lot easier for adding it to the shirt.
Step four: Then, pin the new backing to the shirt, exactly how it was originally.


Step five: Slowly with the sewing machine, stitch the new colored piece to the shirt along the seams. 
Step six: If you haven't done so already, cut and pull out the hand-stitching you had made in step three so you get a flawless look! Voila!