Showing posts with label desserts. Show all posts

RECIPE | Happy Macarons

Sunday, February 7


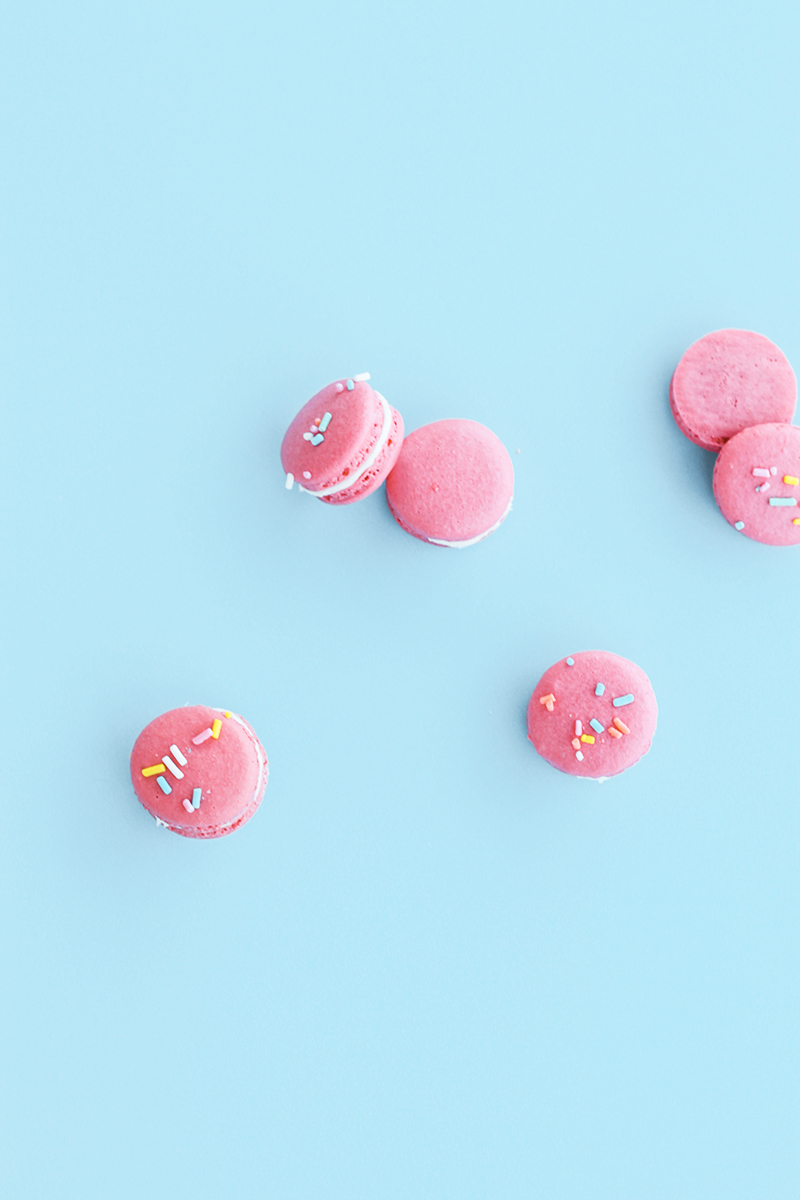
It's a plane...no, it's a star...no, it's a MIRACLE! After more than a year of failed attempts and discouraging oven battles, I have successfully baked a batch of french macarons. For some of you, this may seem trivial. But for those of you who know me well, it's a pretty big deal. Mostly because they've been first-hand witness to the near crazy I've become over perfecting these cookies. I'm not sure what has me so hooked about them. The variety of pastel colors, perhaps? Or the amount of patience required to bake them? Possibly, but not likely. It's probably all driven by my inner, wannabe member of the "Gossip Girl" clique and eat famous Laduree macarons delivered fresh from Paris to my New York estate. Yup, I'm pretty sure that's it. But, I digress.


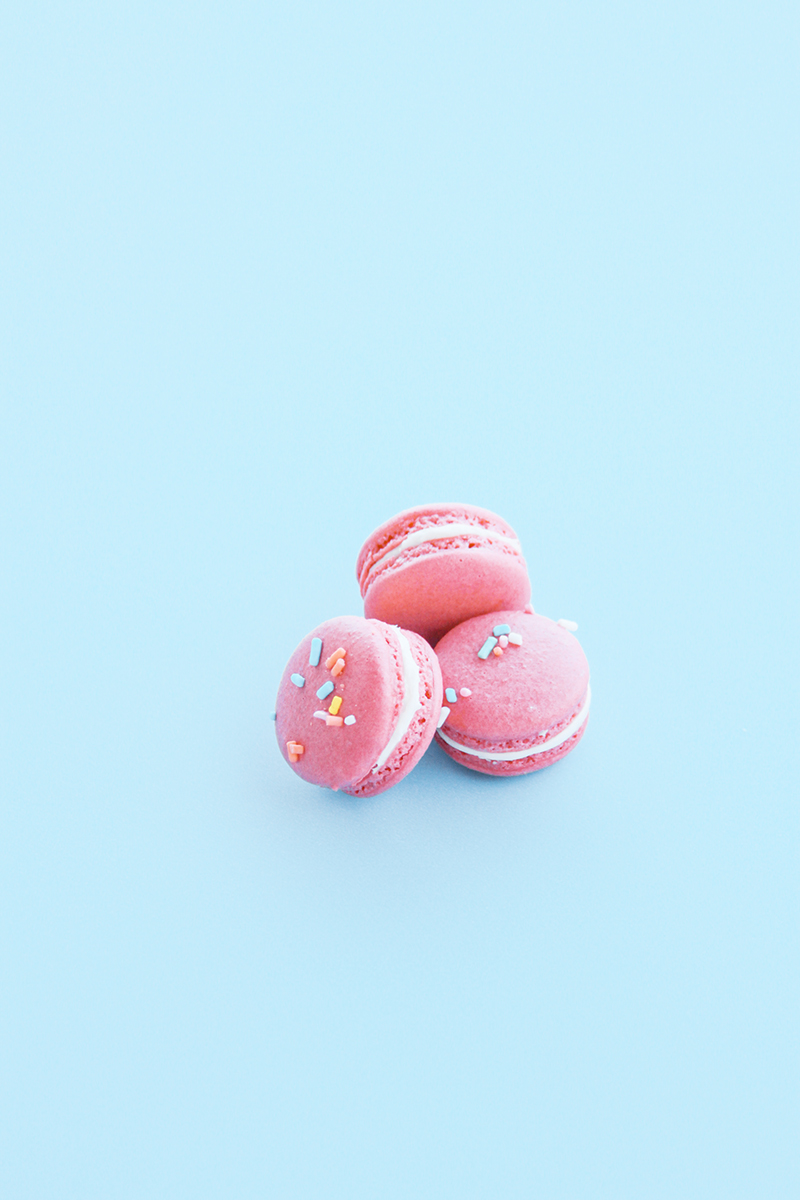
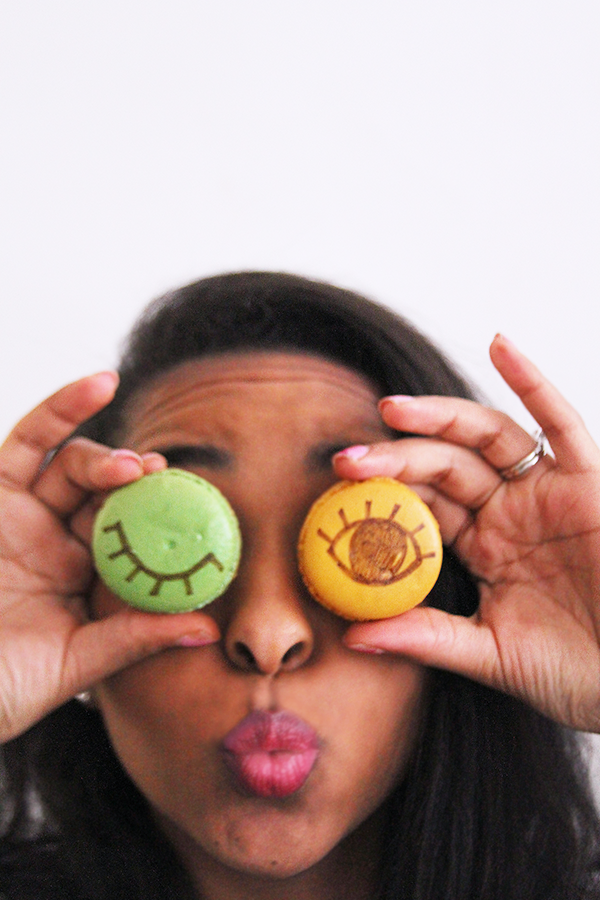
After so many trials, I've been able to learn a thing or two about these tiny treats. Naturally, I'd love to share them with you all so you don't drive yourselves near crazy like I did. So instead of a flavored macaron recipe, these are just called "happy macarons" because I'm just so darn happy they finally turned out okay. Keep reading after the jump for my tips and tricks to making your own perfect batch of macarons!


DIY || #36 || Eye Like My Lashes on Macarons

Monday, April 6

I've hopped onto the macaron train and I'm not getting off! I'm so inspired by Sugar and Cloth's #Glossaryofmacs, a series of fun ways she paints or creates fun images on macarons! The best part - they are all edible! Today's DIY is a super sweet way to bat your eye lashes at that crush of yours during that cocktail party...or just flirt with yourself I guess. Hey, you are pretty good looking, right? All you need are food coloring pens and a batch of macarons. Prepare for a pretty sweet sugary ride! Here are the deets:


What you'll need:
1. Macarons (I bought these babies at a cute Macaron Van that drives around Boston - Cameo Macaron)
2. Edible Color Food Markers (purchased a pack at Michaels)


Steps: 
1. Like I said, super easy! Simple grab a macaron and draw the outline of a semi-circle. Feel free to make your eyelid as thick as you'd like..I preferred mine a little bit on the thinner side. 
2. Next, add lines extending outwards around the semi-circle to make the individual lashes.
3. Repeat per macaron. It's fun to spice up a few and add an eyeball. Simple draw an oval, add the lashes to the top, and a big circle in the middle for an eye that pops! That's it! 


Hope you all like today's project and let me know if you try it! Share your creations on instagram (#diykipi) and follow my colorful ride (@creativekipi)!


DIY || #24 || Homemade Creamy Coconut Popsicles

Thursday, June 5


Despite being someone who isn't all too crazy about eating coconut or coconut flavored things, I am madly in love with coconut popsicles. I think it originates with the many afternoons my pops and I would get coconut popsicles at the mexican food stands during the summer. It was always a father-daughter afternoon treat. With father's day upcoming, I thought it was quite fitting for this DIY treat! Besides, these are ridiculously easy to make, taste like gourmet (seriously), and require few ingredients! I used this recipe as a template to go off of - it's great for creating that creamy yet not overpowering flavor.


You'll need (for 6 popsicles): 1 can of pure coconut milk, 1/4 can of sweetened condensed milk, 2 teaspoons of vanilla, 1 cup of unsweetened coconut flakes (feel free to add more), sugar to taste (I barely added any), and a couple dashes of cinnamon. The instructions from here are beyond easy: mix everything up in a large bowl, add the coconut flakes last, do a quick taste check, pour into popsicle molds, add sticks, then pop those babies in the freezer! They froze fairly quickly, but I just waited until the next day to enjoy them. Honestly, these turn out just as good, if not better, than the store-bought ones. Bon appetit!


Some other great ideas you might try: add a little rum flavor for a pina colada type of taste, mix with other fruit juices such as pineapple or mango, or make them as ice cubes and toss them into a summer cocktail! Enjoy!